I – About XBMC & How To Install; Is There A Download Link For KODI 16.0.0 Version Which Can Be İnstalled On HS-251/TS-251C And Other NAS With RAM Less Than 2G.
II – How To Control Your HD Station’s YouTube With Android And iOS Mobile Devices.
III – How To Configure the Settings Of the HD Station:
IV – How To Configure Video Stream Options To Solve Video-Audio Syncronize Problem
V – How To Use The Audio Pass-Through Function To Connect To Your Amplifier And Enjoy High-Quality Audio.
VI. How To Import The Media Contents To Your NAS?
VII. How To View The Movies / Photos on your USB Device or Camera?
VIII – How To Take A Picture With Your Smart Phone And Watch On Your Tv?
.
I – About XBMC & How To Install; Is There A Download Link For KODI 16.0.0 Version Which Can Be İnstalled On HS-251/TS-251C And Other NAS With RAM Less Than 2G.
Here is the download link for KODI 16.0.0 version which can be installed on HS-251/TS-251C and other NAS with RAM less than 2G.
http://download.qnap.com/QPKG/HDV3/Intel/KODI_16.0.0_x86_64_intel_20160220.zip
The award-winning Turbo NAS brings you an all-new home theater experience! The NAS series provides the ability to back up all of your digital photos, music, and videos, while supporting playing a variety of video formats. Using the HD Station on the high-definition HDMI TV or projector, you can easily turn the NAS into a powerful digital media player. The exclusive TV Portal feature now allows you the freedom to choose how to play back your videos.
What is HD Station?
The HD Station is a platform where the famous XBMC application or Chrome browser can be installed to let you directly play back your NAS multimedia contents or browse the internet websites on the TV screen thru the HDMI interface.
Create your lovely media environment by following the steps below:
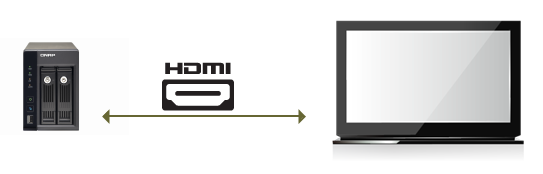
1. Set up the environment of the HD Station: Connect the NAS to the HDMI TV with a HDMI cable
Remote controller: There are 4 different ways to control the HD Station.
- QNAP remote controller
- MCE remote controller
- USB keyboard or mouse
- Qremote: QNAP remote app, exclusively designed for the HD Station.
Note: If you want to use the Chrome to browse an internet website, you are required to use the mouse function on the Qremote or use the USB mouse directly connected to the NAS.
2. Install the HD Station: Go to “Applications” > “HD Station” and click the “Get Started Now” button. Then, the system will install the HD Station automatically.
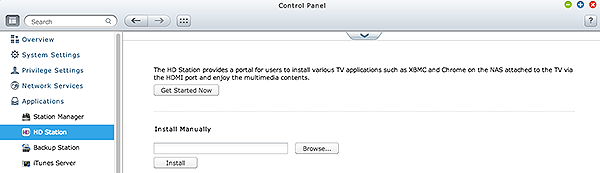
Choose the applications to install.
HD Station: The HD Station portal, which allows you to use the following applications on the TV screen.
- XBMC: An application for you to operate and enjoy your multimedia data on the TV screen.
- Chrome: With the help of Chrome, the QNAP Turbo NAS brings endless web content to your HDTV. Just sit back, relax, and surf the internet on your couch.
- YouTube: Simply browse and click to enjoy millions of YouTube videos on your TV.
- MyNAS: An application for you to enter the local NAS administration web page to view the NAS functions and settings.

Note:
- Keeping staying at XBMC, Chrome, or other applications could affect the hard drive hibernation of the NAS. Please always exit the application and return to the HD Station portal.
- Press the power button on the remote control for 6 seconds anytime to exit an application.
- Press the one touch copy button on the NAS for 6 seconds to restart the HD Station.
- For the best HD Station experience, QNAP recommends upgrading your TS-x69 memory to 2GB or more (Max:3GB).
- To use the AirPlay function provided by XBMC, please upgrade your TS-x69 memory to 2GB or more (Max:3GB).
- XBMC supported formats
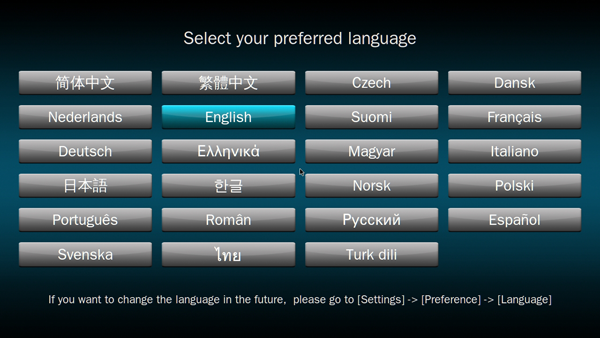
After installation, you need to choose your preferred language on the TV screen.
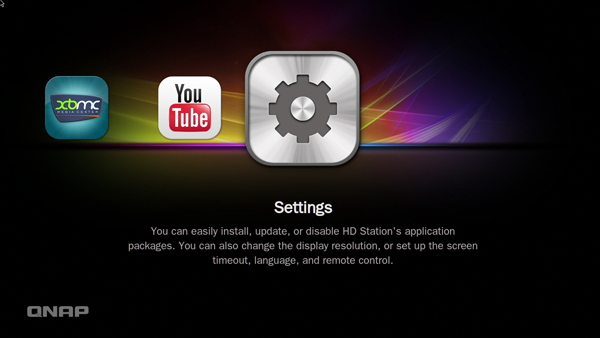
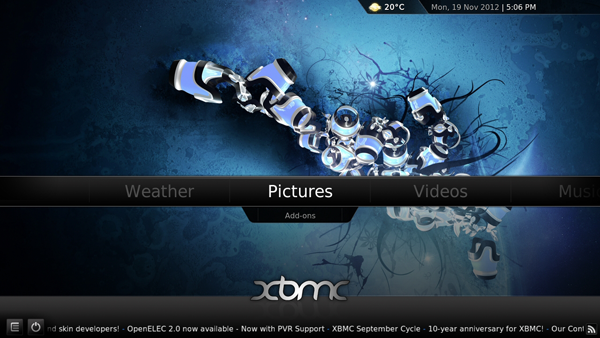
After selecting the language, you will see the HD Station portal as shown below.
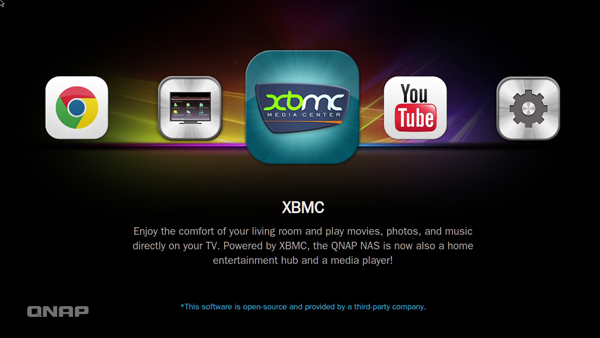
3. Start using the HD Station: At the HD Station portal, simply choose the application you want to use to start enjoying the service.
XBMC: Enjoy the comfort of your living room and play movies, photos, and music directly on your TV. Powered by XBMC, the QNAP Turbo NAS now becomes a home entertainment hub and media player as well!

.
II – How To Control Your HD Station’s YouTube With Android And iOS Mobile Devices.
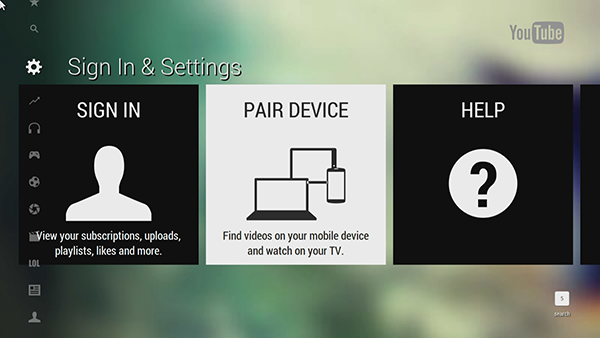
1. Launch YouTube on HD Station
2. Go to “Settings”.
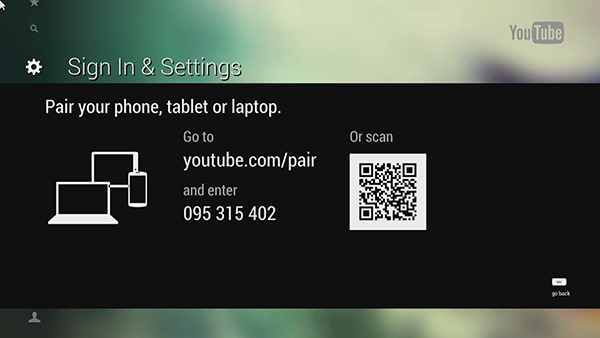
3. Scroll to the “Pair Device” option.
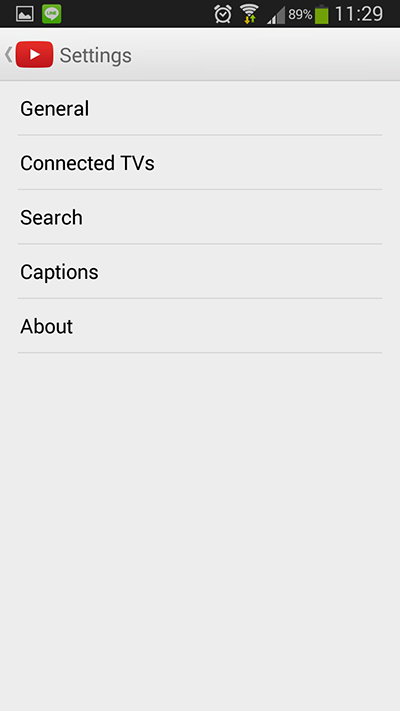
4. Launch the YouTube app on your mobile device.
5. Go to “Settings”.
6. Select “Connected TVs”.
7. Enter the pairing code shown on your TV.
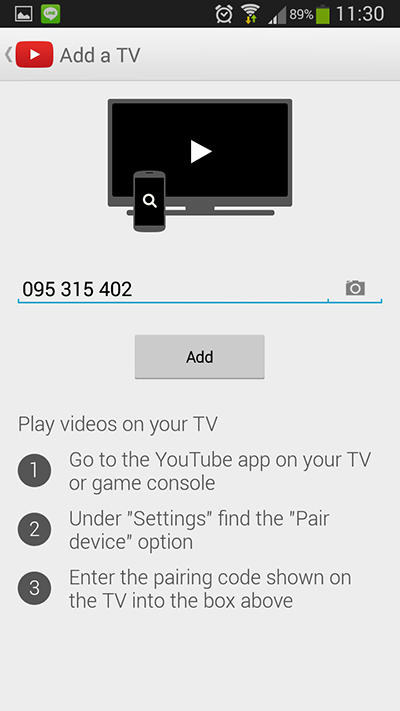
After pairing your mobile device with HD Station’s YouTube, the “Pairing” icon at the top of the screen will turn blue, and you will see a notification bar at the bottom of the screen letting you know that you’re now connected.
.
III – How To Configure the Settings Of the HD Station:
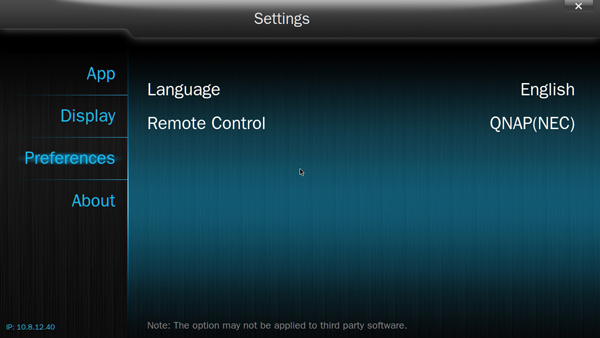
You may configure the HD Station by choosing “Settings” at the HD Station portal.
In the “App” feature, the applications can be enabled or disabled.

In the “Display”, you may change the screen resolution and set up to turn off the screen after an amount of idle time.
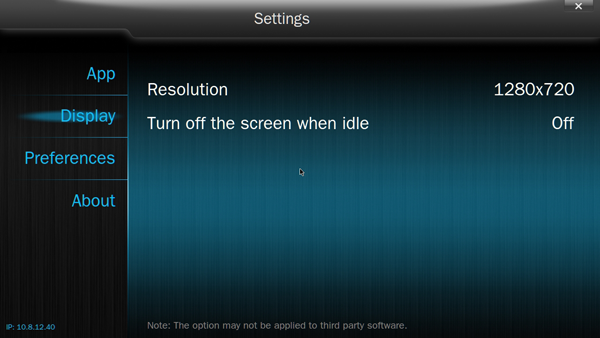
In the “Preferences”, you may change the language or type of remote control.
Note 1: The TS-x70 series only supports the MCE remote control.
Note 2: Currently the HDMI Audio Passthrough is not supported for TS-x69 series.
Note 3: Depending on the data type, some files may not be playable
.
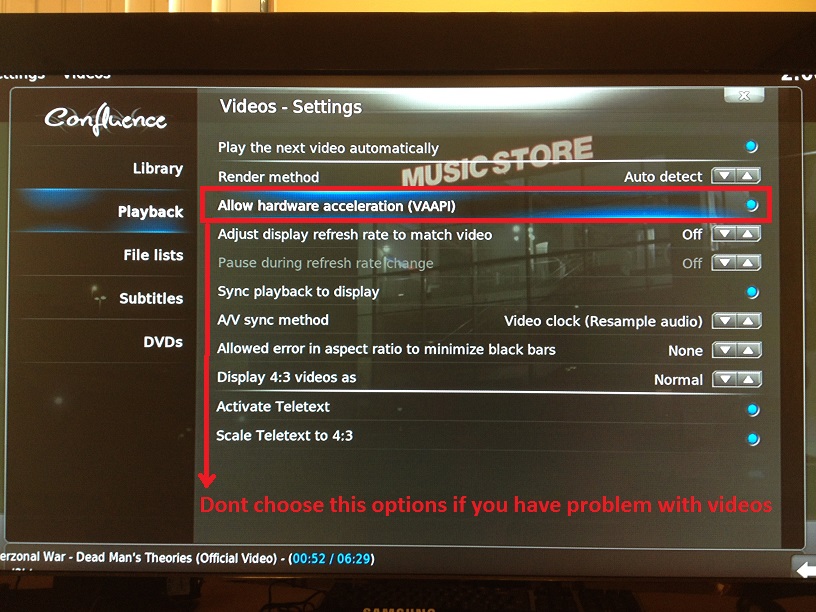
IV – How To Configure Video Stream Options To Solve Video-Audio Syncronize Problem
Go to XBMC [System Settings] -> Video -> Plşayback and setup Video configration down below;
.
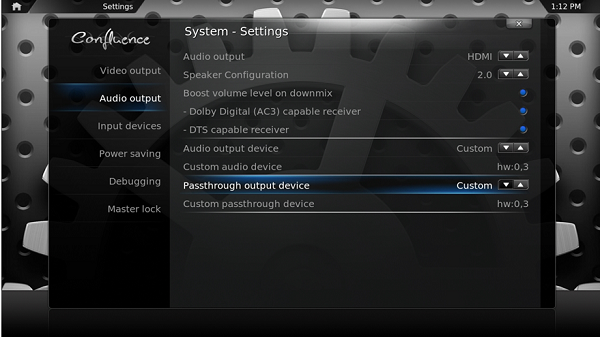
V – How To Use The Audio Pass-Through Function To Connect To Your Amplifier And Enjoy High-Quality Audio.
x69 NAS series:
You can go to XBMC [System Settings] -> [Audio output] to modify the setting like below:
Audio output device: Choose “Custom”, like the picture below.
On “Passthrough output device”: Choose “Custom”, like the picture below.
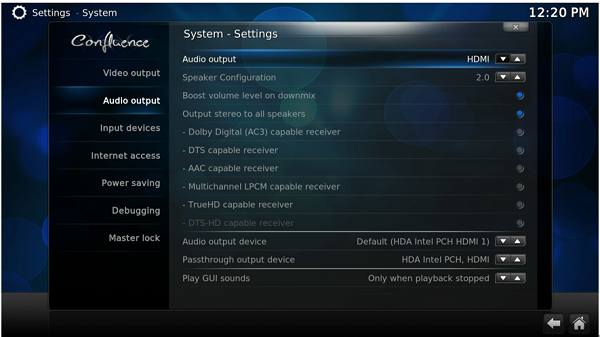
x70 NAS series:
You can go to XBMC [System Settings] -> [Audio output] to modify the setting like below:
On “Passthrough output device”: Choose the name of your amplifier.
Note: If you connect your TV to an amplifier, it will show the name of your TV. In this situation, you can e select your TV.
.
IV – How To Import The Media Contents To Your NAS?
Import the contents: By default, you may import the media contents to the HD Station, and simply save the files in the “Multimedia” or “Qmultimedia” shared folder by several types of network protocols (Samba, AFP, FTP, and NFS), or copy them from an external USB or eSATA device (if any).
Tips:
If you want to browse the media contents in different folders other than the default “Multimedia” shared folder, you can perform the following steps:
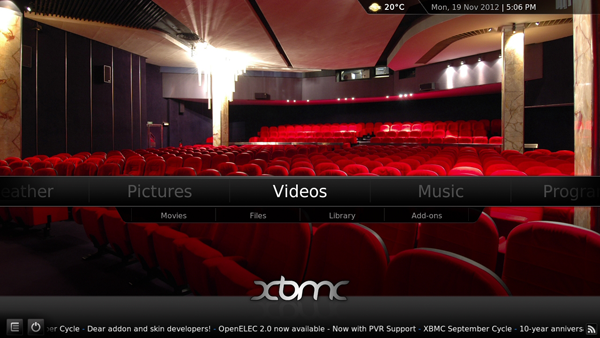
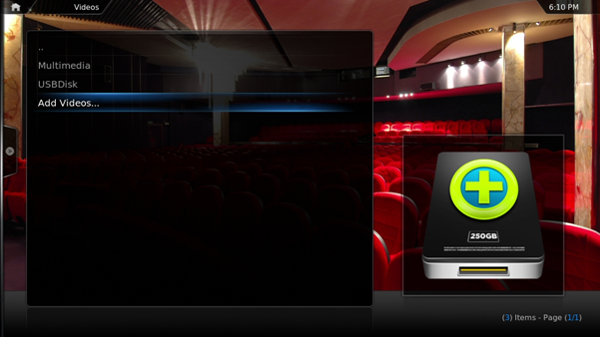
i. Choose “Files” under “Videos”
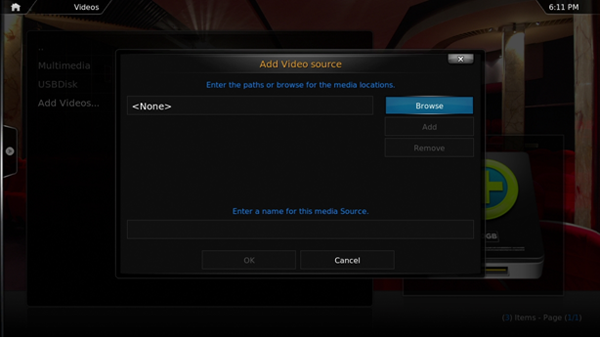
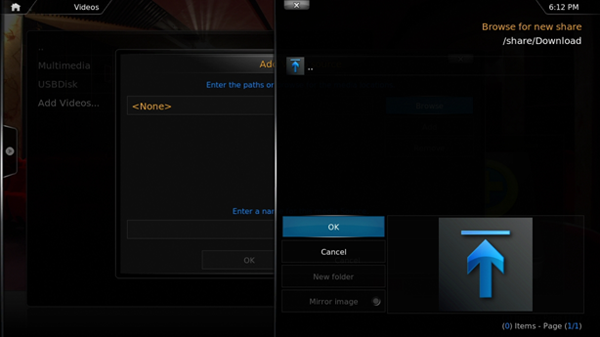
ii. Choose “Add Videos”
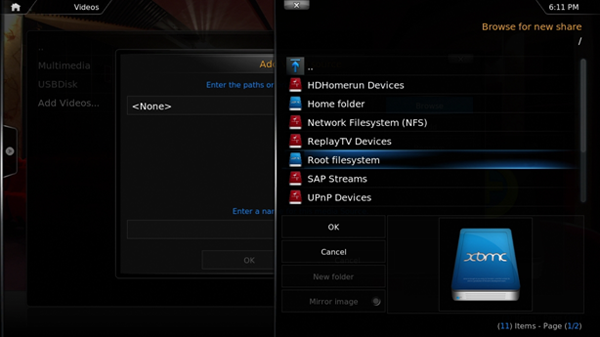
iii. Click “Browse”
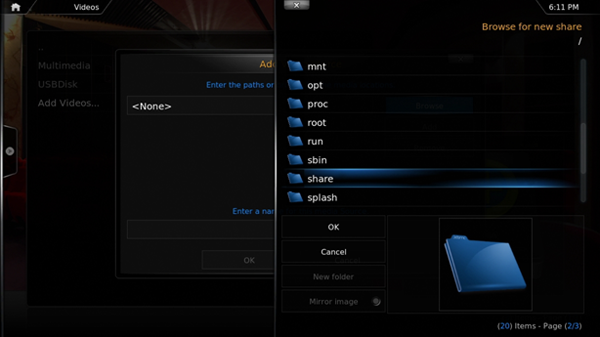
iv. Choose “Root filesystem”
v. Choose “share”:
vi. If you want to add the “Download” shared folder, for example, choose “Download” like below. Otherwise, just choose the shared folder you would like to add as a video source.
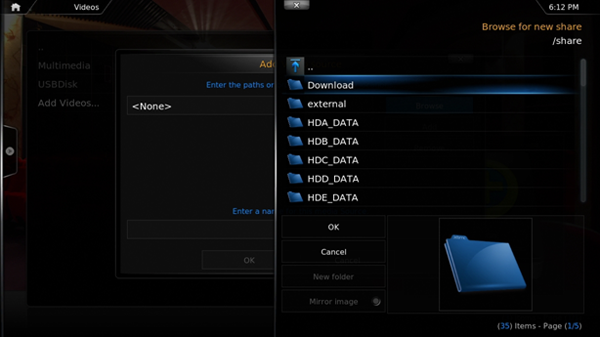
vii. Click “OK” to add this source.
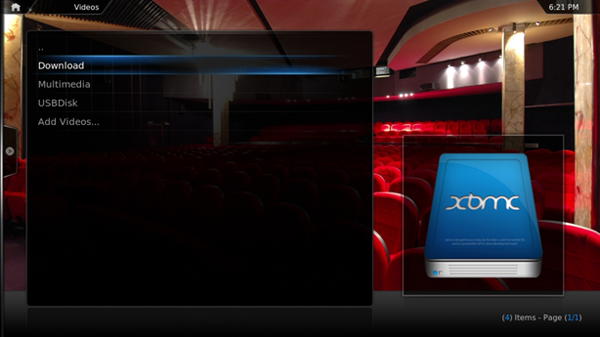
viii. You will see the “Download” shared folder in the list.
If you have any video playback quality issues with some video formats, you may enable the following settings on the XBMC. Go to “Setting” > “Video” > “Playback”, and then enable “Adjust display refresh rate to match video” and “Sync playback to display”.
.
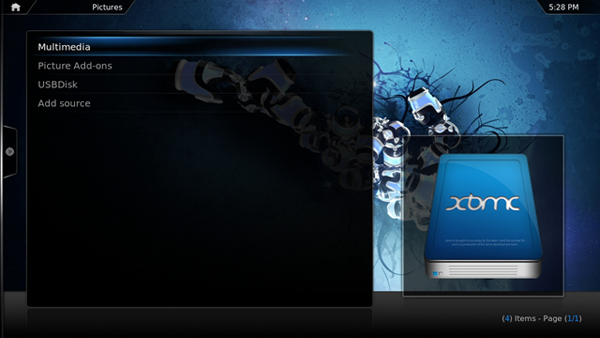
V. How To View The Movies / Photos on your USB Device or Camera?
a. Connect your USB device or camera to the USB port of your NAS
b. Choose “Pictures”
c. Choose “USBDisk”
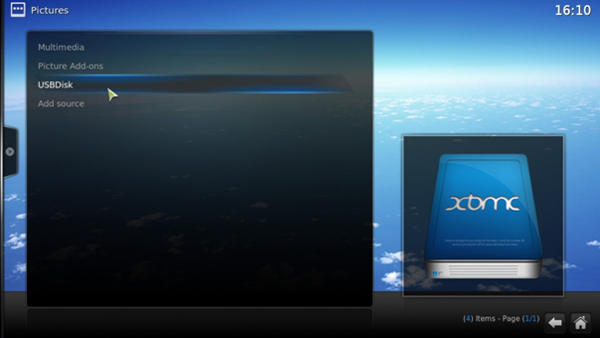
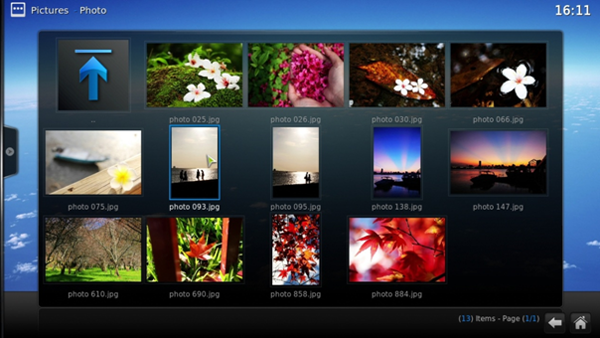
d. Select the photo you want to view
.
VI – How To Take A Picture With Your Smart Phone And Watch On Your Tv?
The first part is done by the Qfile on your phone:
a. Use the Qfile to browse your NAS
b. Choose the multimedia shared folder
c. Select the upload function
d. Take a picture and upload it to the NAS
The second part is performed by the HD Station on your TV:
e. Turn on your TV and choose XBMC
f. Choose “Pictures” like below:
g. Select the “Multimedia” folder
h. Double click the picture you just uploaded

XBMC Features: Enjoy Your Media Content Directly on TV via HDMI With HD StationXBMC Programı ve HDMI Çıkışıyla Qnap'ınızı Gerçek Bir Ev Sinema Sistemine Dönüştürün,

you just keep forgetting one step – there is a login screen with all users listed where nether the actual nor the standard passwords will work. So i just browse my users and stare, and stare and stare….
This link is no longer valid: http://download.qnap.com/QPKG/HDV3/Intel/KODI_16.0.0_x86_64_intel_20160220.zip