I – Qsync: Synchronize Files Anytime, Anywhere Just Like Dropbox Wihtout HDD Limitations!
II – Getting started: Activating Qsync & Creating User
III – Start Using Qsync: Synchronization:
IV – How To Sharing Files By Download Links
V – Remote Access: How To Access NAS Over The Internet
VI – How To Sync Photos And Videos Automatically
VII – Managing The Synchronization
VIII – How to Create & Share a Team Folder On Qsync
IX – What If I Try To Synchronize My Qsync Folder to a Share Folder On Qnap? Nope, It Doesnt Work..
.
I – Qsync: Synchronize Files Anytime, Anywhere Just Like Dropbox Without HDD Limitations!
Qsync for file synchronization
- Sync files across devices
- Save up device storage
- Sync selective sub-folders
- Share folders and files easily
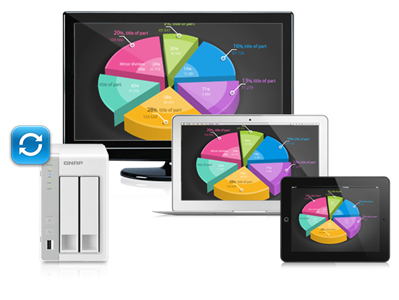
Nowadays, almost everyone has multiple devices such as desktops, laptops, smart phones or tablets. With the Qsync utility, you can easily synchronize files across different devices and share files across groups and communities. It saves lots of efforts for synchronizing files and social sharing from manually copying files from one device to another. Using Qsync to share photos and music with friends makes more fun, and to synchronize files at work increases work efficiency.
Bigger than Dropbox!
Not satisfied with the limited Dropbox storage? The Qsync utility turns your Turbo NAS into a safe data center for file synchronization with huge storage. You can upload photos from mobile or tablet devices to the Turbo NAS, and access the same files on any computer, laptop or mobile device linked to the Turbo NAS. Qsync is especially useful for frequent travelers to manage files and always have the most updated files on different devices. Qsync provides multiple ways of file synchronization and group file sharing, greatly enhancing the flexibility of collaboration.
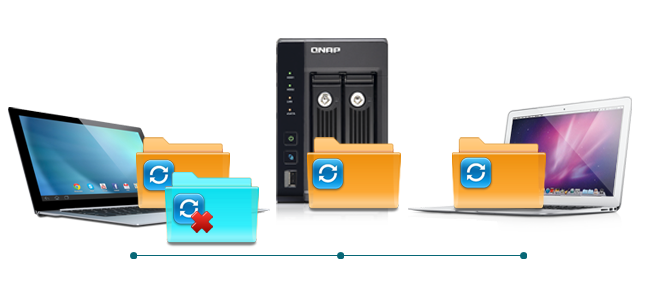
Sync files across devices
Whenever you add, edit, delete or rename a file on one computer, the change applies to all others linked with the Turbo NAS, so you have exactly identical contents on all your devices.
Save up device storage
It allows you to remove files on one computer without affecting the copies stored on others that are linked with the Turbo NAS. However, when someone updates the files your deleted from another computer, you can still retrieve them in the Qsync folder.

Sync selective sub-folders
When synchronizing files, you can choose to only sync specific sub-folders within the Qsync folder, useful if your computers have limited storage.
Share folders and files easily
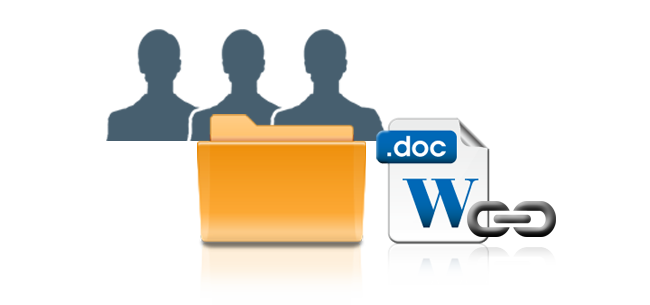
Share team folders with different groups of people
Your life is connected with different groups of people. You can create sub-folders within the Qsync folder, and share each with different groups of Turbo NAS users as a file exchange center. Everyone in the same sub-folder is always kept up-to-date with the latest version of the files.
Quickly share files with download links
You can create download links to share files with people, even if they don’t have an account on the Turbo NAS. This greatly reduces the time in creating user account and password for users just to share less-important documents.
Versioning control
With Qsync versioning control, all file revisions are saved as a copy for future retrieval. With file versioning, there’s no need to worry about files being overwritten or mistakenly deleted. Even the files that have been deleted from the recycle bin can be retrieved.
.
II – Getting started: Activating Qsync & Creating User
Getting started
Qsync is a cloud based file synchronization service empowered by QNAP Turbo NAS. Simply add files to your local Qsync folder, and they will be available on your Turbo NAS and all its connected devices.
Before using Qsync
Follow the 3 steps below before Qsync deployment.。
- Create user accounts on the NAS,
- Install Qsync on your computers and Qfile on your mobile devices.
- Log into the NAS (serving as a Qsync server) from your computers or mobile devices (referred to in this document as Qsync clients.)
1 – Create user account on the NAS
Please create user accounts for Qsync users.
For NAS administrator: Please go to “Control Panel” > “Privilege Settings” > “Users” > Click on “Create.”
For NAS users: Please have the system administrator create an account for you.

2 – Install Qsync utility
Qsync will synchronize all chosen files on your computers or mobile devices.
Follow instructions detailed on the “Overview” page to download the utility. (Log into the NAS> Click the Qsync shortcut on the NAS Desktop> Overview page)
Or download the utility from the QNAP website: Support > Download> Utilities.;
Download Link:
http://www.qnap.com/i/en/family_apply_v2/con_show.php?op=showone&cid=9#f8_09
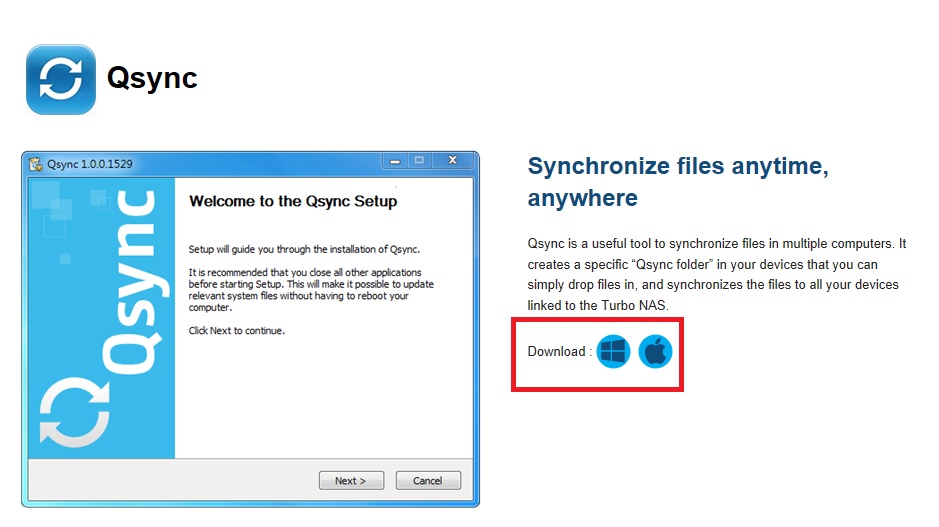
For computers, please download the Qsync utility for Windows.
For mobile devices, please download and install Qfile for iOS or Android.

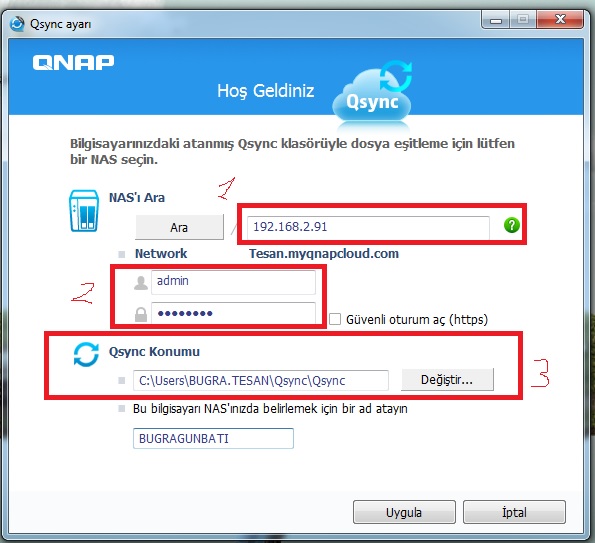
3 – Log into the NAS
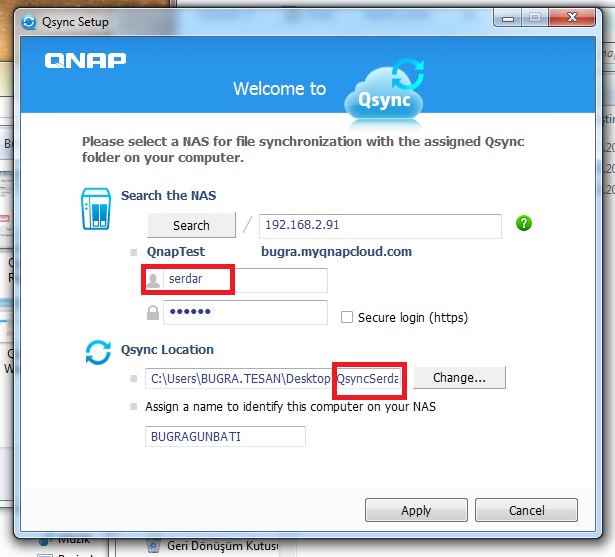
After installing the utility, enter the user ID and password and specify the designated NAS as the Qsync server.
To locate the NAS within a LAN environment, simply click “Search” to find it or key in its IP address or name. (e.g. IP address: 10.8.1.20 or 192.168.2.91)
To connect to a remote NAS (over the Internet), please use your myQNAPCloud address to log in. (e.g. andy@myQNAPcloud.com )
Note:
- If the ports have been changed for NAS connection, please append the port number to the IP address; otherwise, please only enter an IP address. (Default port number: 8080)
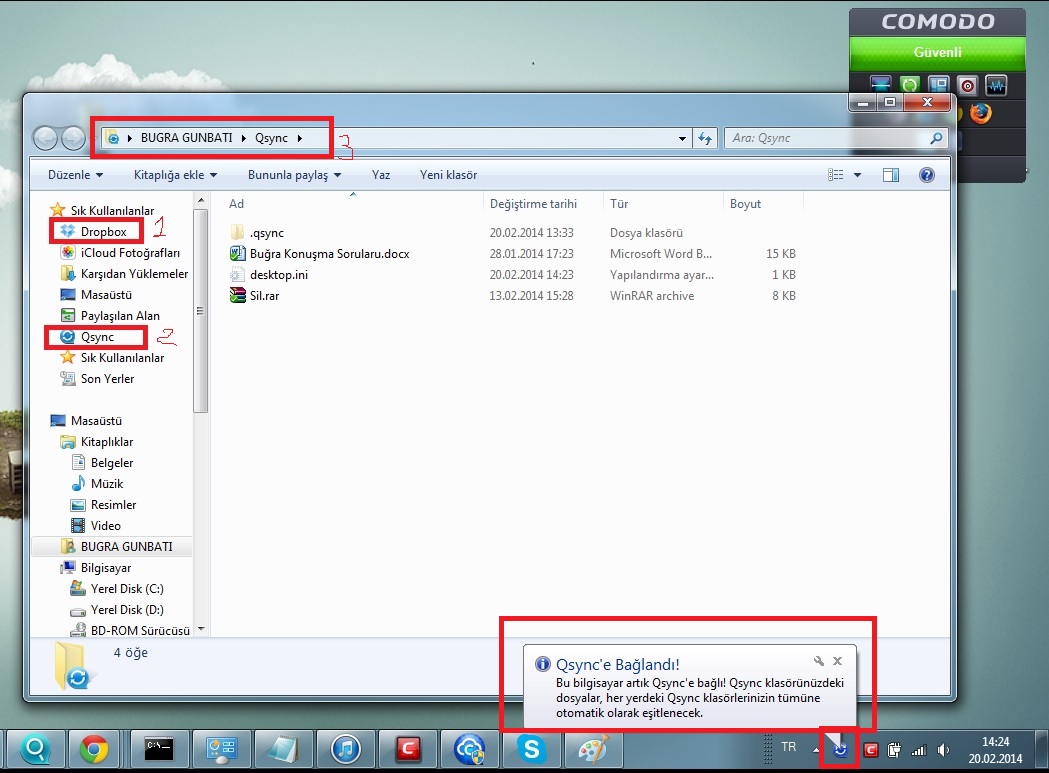
4 – Use Qsync Folder Just Like Dropbox
You’ll realize that Qsync works as Dropbox. Only difference is your file limitation is not 5 Gb as Dropbox, and you have your own server. Simply drag files you want to syncronyze to Qsync folder.
5 – If you want to reach these files froum your Android / iOS device, simply install Qfile manager.
.
III – Start Using Qsync: Synchronization:
Start using Qsync
Double click on the Qsync shortcut on the Windows desktop to open the Qsync local folder. Click on the Qsync icon on the taskbar at bottom right side of the screen to bring up the menu.


Now, just copy or move your files to the local Qsync folder in one of your devices, the files will be copied to all your other devices (devices with Qsync installed and are connected to the NAS.)
From now on, you don’t need to copy files back and forth between your PC and external devices or worry about the size of the files as you to try to attach them to an E-mail.
Synchronization
Synchronization
There are a few methods you can synchronize your files. Qsync will automatically synchronize the files among your computers or mobile devices that have Qsync installed, and they will also be synchronized to the Qsync folder on the NAS.
- For PCs, drag and drop files directly to the local Qsync folder.

- For mobile devices (Qfile), copy or move files into the Qsync folder.
- For the NAS, copy or move files to the Qsync folder via File Station (web based file explorer).

Note:
- If files are “dragged and dropped” into the Qsync folder, they will be moved to the Qsync folder, as supposed to be copied into the folder, if the files and the Qsync folder are located in the same disk drive. The behavior is the same as File Explore in Windows.
- The maximum size of a single file that Qsync can transmit is 50G in a LAN.
- Qsync doesn’t support SAMBA, FTP or AFP for files access. Please access files using File Station or Qsync.
- Qfile can only synchronize the file list and does not download the files to a mobile device. Please download the files when you need them.
Offline editing
You can browse and edit your files offline, and once your device is online, Qsync will sync the files you edited offline for you automatically.
.
IV – How To Sharing Files By Download Links
Share files by download links
You can share files by sending file download links to those who haven’t installed Qsync.
- For Windows, right click on the file that you would like to share in the local Qsync folder and click on “Share the link.”
- Select to send the link via E-mail or copy the link to others.
- Click “Advance” to check more options for the link, such as creating a SSL link, the expiration date, or password.


- For the NAS, right click on the file that you would like to share in the Qsync folder within File Station and click on “Share.”
- For mobile devices, launch Qfile to share the file in the Qsync folder by clicking the icon to the right and click “Share.”
- The file recipients can click on the link or copy and paste it to a web browser to download the file.
Share the folders with a group
You can share a folder with a group of users. If any member from the group shares the files in the folder, other members can receive the file.
Steps:
- Create user accounts in the NAS for each group member.
- Have Qsync utility installed on each member’s device.
- Right click on the folder that you would like to share in the local Qsync folder and click on “Share this folder as a team folder.”

- Select users from the list of local or domain users.

- All members in the group will receive a file sharing invitation. Once accepted, the group members can start to access this shared folder.
Note:
- The team folder will only take effect after users you send the invitation to accept the invitation.
- Users cannot share the team folders which are shared from others again.
.
V – Remote Access: How To Access NAS Over The Internet
Access the NAS over the Internet
To connect to a remote NAS (over the Internet), the administrator is required to configure the device name for the NAS in “myQNAPCloud” first (Log into the NAS> NAS Desktop > Click on the myQNAPcloud shortcut.)
Next, notify the users about themyQNAPCloud web address for their remote access. You can then use the myQNAPCloud address to log into the remote NAS. ( e.g. andy@myQNAPcloud.com )

Note:
- The connection with the NAS over the Internet will take longer, when compared to a LAN environment.
- As you switch back to a LAN environment where your NAS is located, please connect to the NAS again through LAN, instead of the myQNAPcloud service for better connection quality.
- For better performance on file transmission, it is recommended to configure port forwarding on the router if possible.
.
VI – How To Sync Photos And Videos Automatically
Qsync can sync your photos and videos on mobile devices to the Qsync folder of across all Qsync clients automatically.
Steps:
- Install Qfile on your mobile devices by following instructions outlined in the Qsync page on the NAS or find it on the APP Store.

- Launch Qfile,
- Click “Settings” on the bottom right side of the screen,
- Scroll down and look for “Auto upload from photo gallery” and click on “Set up now,”
- Select a NAS to upload photos and videos to,
- Select the folder,
- Select “Use default setting” ( /Qsync/Camera Uploads) or select “Set up manually” to set the path,
- Select if you want to upload all photos from photo gallery immediately,
- You can tick the checkbox “Limit to WiFi” to upload files through WiFi and avoid possible expenses associated with the 3G Network,
- The uploaded files will be synced to the “Camera Uploads” folder under the Qsync folder on Qsync client devices.
Note: If files uploaded before are deleted from the Camera Uploads folder, Qfile will not upload those copies in the photo library again.
.
VII – Managing The Synchronization
Synchronization management
Click on the Qsync icon on the taskbar to see the management functions:


- Add files and view the synchronization result on the NAS:
- Open Qsync folder: Open the Qsync folder to add files,
- View files by the web browser: Open File Station (web based file explorer) and browse files in the Qsync folder on the NAS.
- Control synchronization progress:
- Pause syncing / Resume syncing: Click to pause or resume syncing,
- Sync with NAS now: Force Qsync to scan again and refresh the synchronization list.
- Information for syncing and sharing:
- Sharing & File Update Center
- File Update Center: List the file or folder update logs.
- Sharing center: List the folders or files shared with others. Users can choose to accept or decline the team folders. However, users cannot share team folders that are shared by others.

- Sharing & File Update Center

ii. Recently changed files: List the recently updated files.
- Preference:
- General:
- Link Status: Show the current status. Click “Logout” to change users.
- Network Recycle Bin: Browse or recover files deleted from the Qsync folder.

- Sync:
- Selective Synchronization: Select the folder to sync to the computers.
- Do not remove any files on the NAS when synchronizing: You can remove files within the local Qsync folder, and files deleted from your computer will not be synchronized with the NAS. The NAS still keeps copies of the deleted files.

- Policy:
- Conflict Policies: The policies for handling the name conflicts between Qsync server (NAS) and clients after it is back online from its disconnection:
- Rename the local files(s),
- Rename the remote NAS files(s),
- Replace local files with remote NAS file(s), or
- Replace remote NAS files with local files(s).
- Sharing Policies: The policies of the team folders when other Qsync users share them to this local computer:
- Always reject sharing,
- Automatically accept sharing, or
- Send a notification message once sharing occurs.
- Filter Settings: During file synchronization, Qsync will not sync the types of files specified in filter settings.

- Conflict Policies: The policies for handling the name conflicts between Qsync server (NAS) and clients after it is back online from its disconnection:
- E-Mail:
Set up E-mail: Set up an E-mail account for sharing file links. You can use the NAS SMTP server settings (for NAS administrator use only) or configure a new SMTP server.

- Advanced:
Import photos and videos: Import photos and videos when an USB external device is connected. This feature only applies to photos and videos located under the DCIM folder in the root directory of the USB external device.

- General:
Manage or monitor Qsync status via web browser
Log into the NAS via a web browser and click the Qsync button.
- Overview: Provides links to install the utility and to File Station, lists the total number of online users and devices, and you can also choose to enable or disable the Qsync service (for administrator only.)

- Users: List information of online users and you can manage the Qsync service for users (For administrator only.)

- Devices: List the status of connected devices and you can choose to allow or terminate connection of the devices.
- If users log in from their PC, the name of the device will be shown as their computer name.
- If users log in from Qfile, the name of the device will be shown as Qfile-Android or Qfile-iPhone.
- If users move or copy files to the Qsync folder in File Station, the name of the device will be shown as Qsync-File Station.

- Event Logs: List the activity details by each user.

- Team folder: List the status of the team folder, including folders that you shared and are shared by others.

- Shared File Links: List the status of shared links.

.
VIII – How to Create & Share a Team Folder On Qsync
How to Share a Folder With Your Team Member;
Scenario: I Want To Share “Team Folder” Folder With “serdar” User;
Before Start;
On Sharing Policies of the team folders when other Qsync users share them to this local computer, you can setup
-Always reject sharing,
-Automatically accept sharing, or
-Send a notification message once sharing occurs.
1 – In Qsync folder, right click on folder you want to share withj your team and press “share this folder as “Team Fodler”" option

2 – Choose Users you want to share with; (I only Choose “serdar” user)
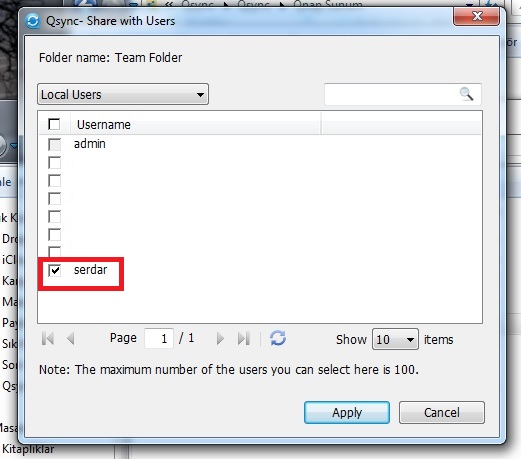
3 – On Qsync Team Folder options, you’ll realize that Folder status is “still waiting”
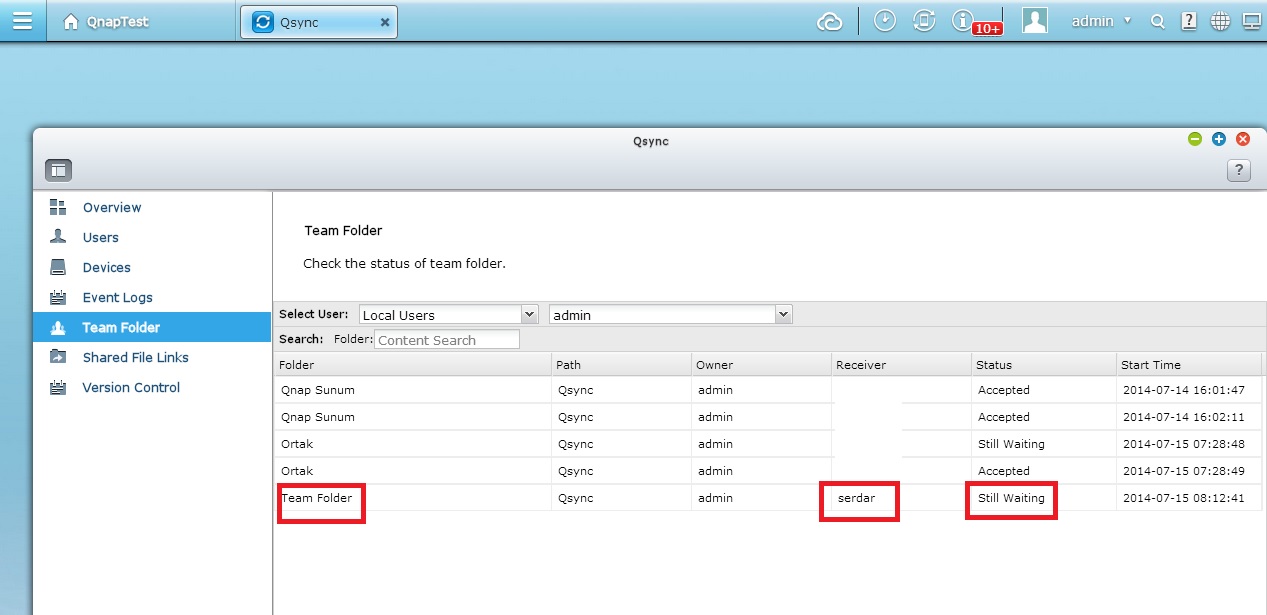
4 – Now When “serdar” user login on his Qsync login screen
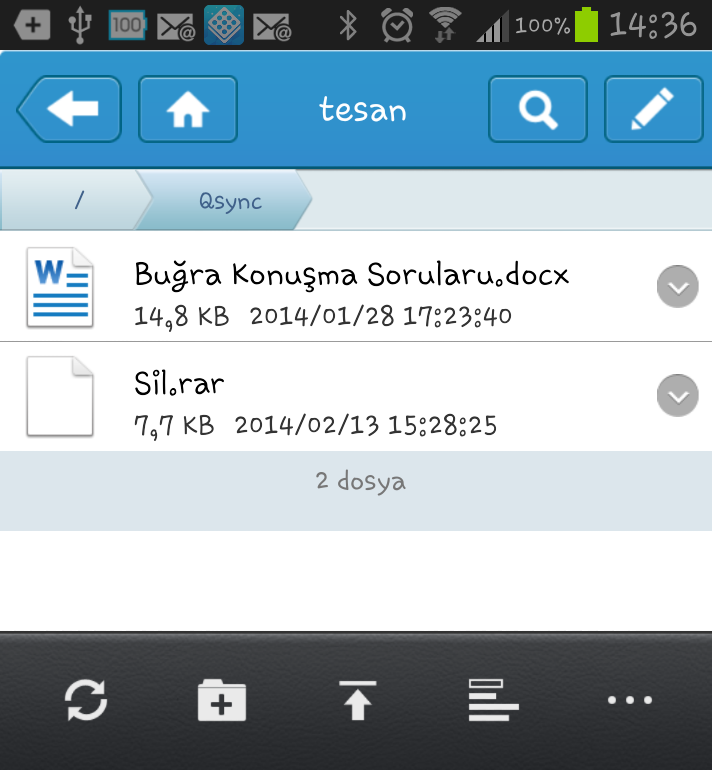
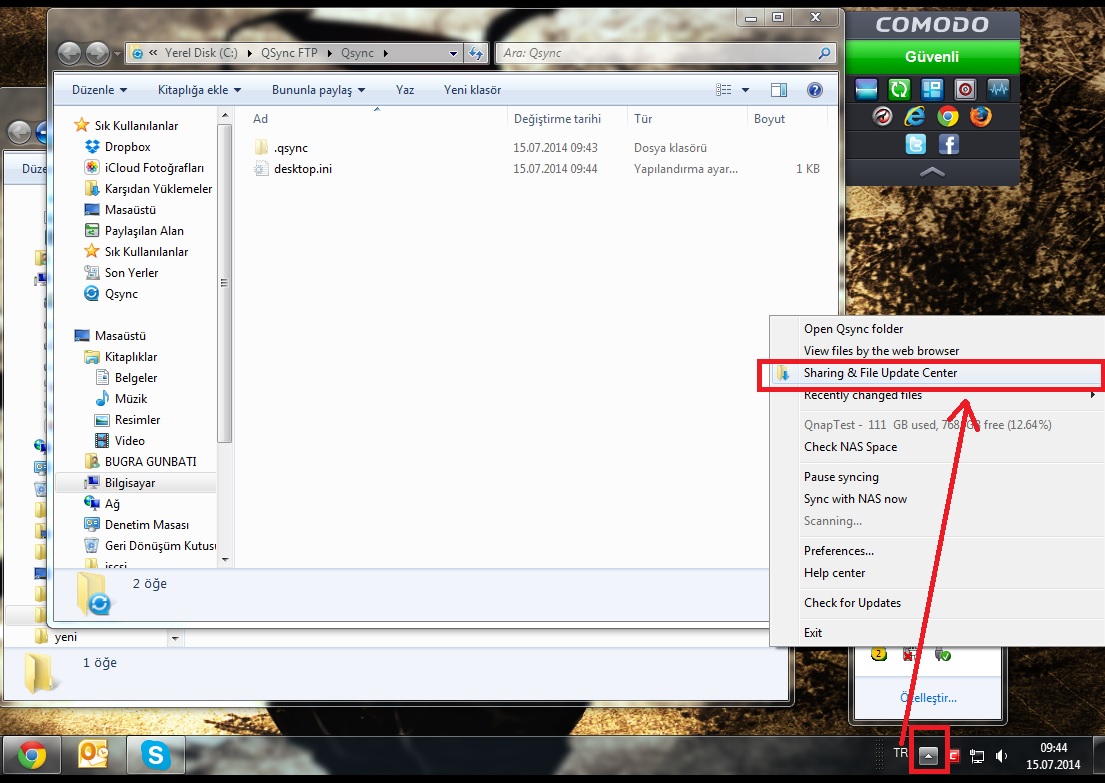
5 – There should appear an icon on Qsync;
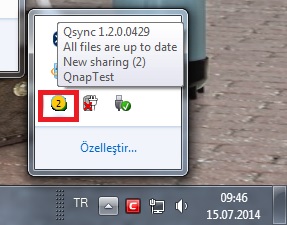
6 – Right click on this icon and press Sharing & File Update Center
7 – And an “Accept” Button will appear near “Team Folder” Folder
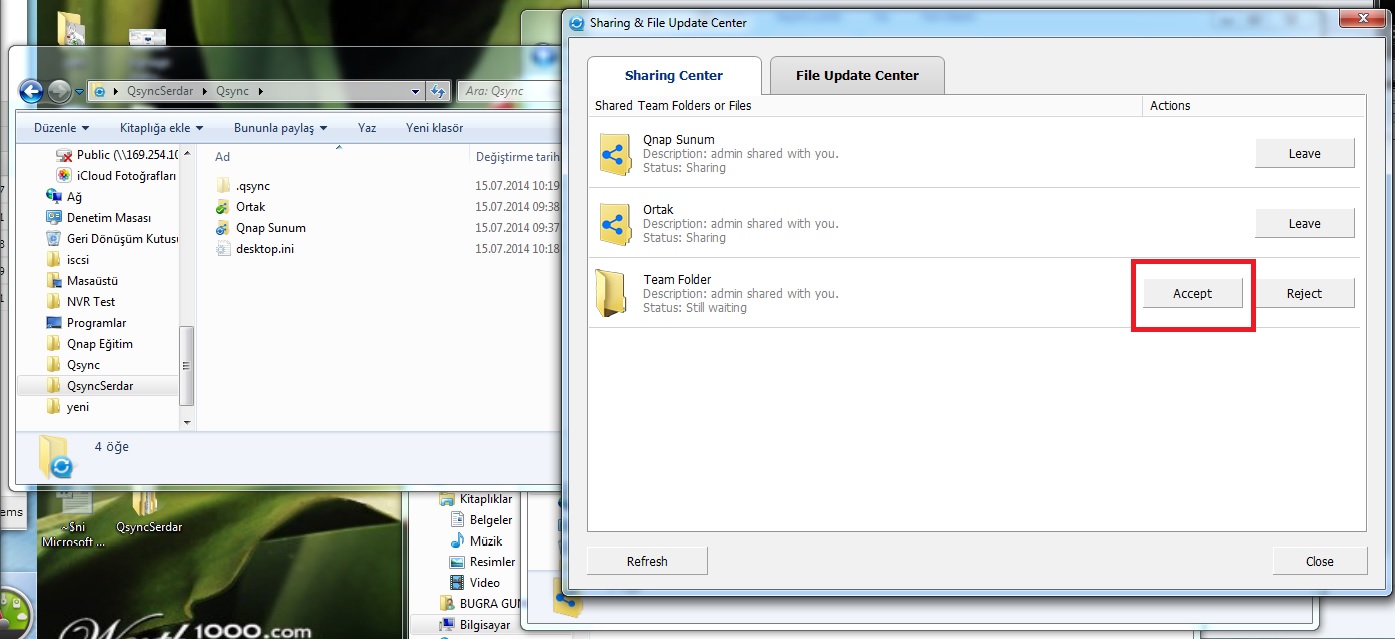
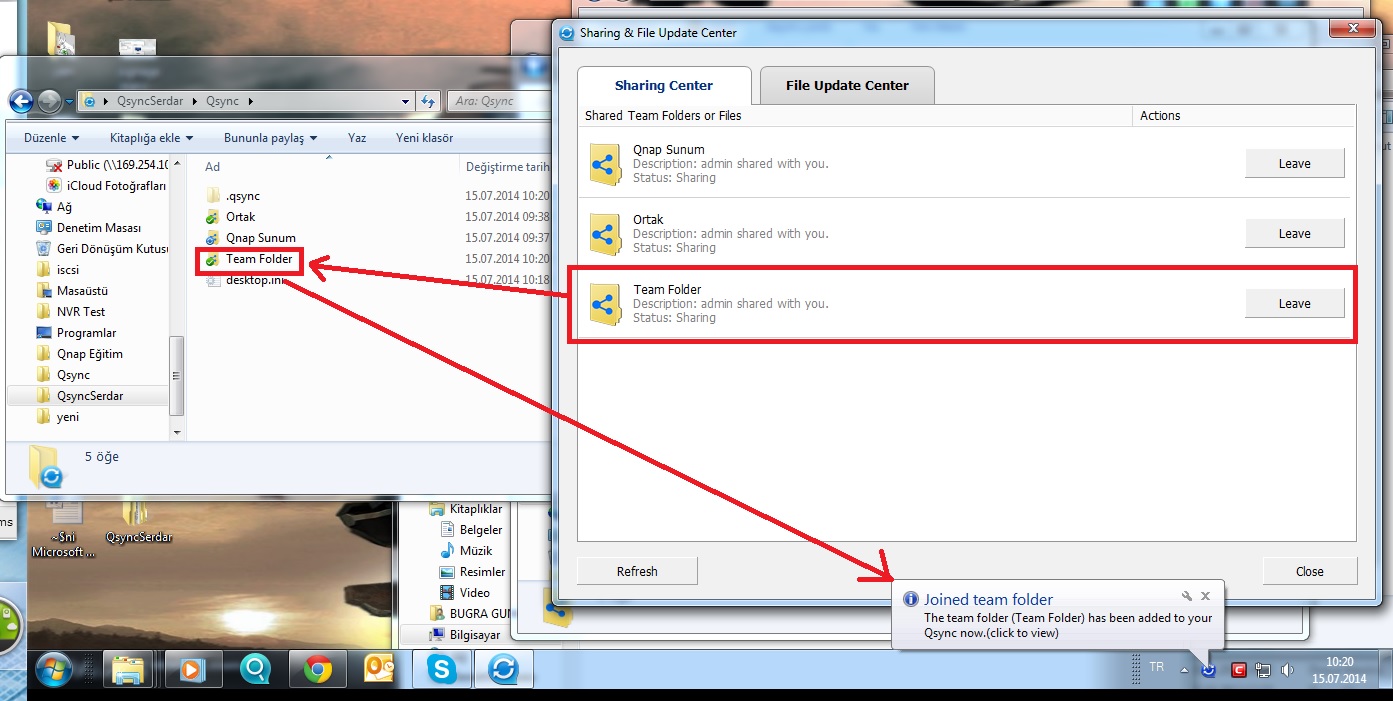
8 – When “serdar” user press Accept, files under “Team Folder” should be Syncronize both “admin” and “serdar” users;
.
IX – What If I Try To Synchronize My Qsync Folder to a Share Folder On Qnap? Nope, It Doesnt Work..
If you try to replicate your Qsync folder on windows to a Share folder on Qnap (Just like Public folder) Qnap will automaticly add your Pc IP adress to blacklist;

To Solve this problem, just login Qnap to an another Pc or change your Pc IP adress and remove your old IP adress from blacklist on security options;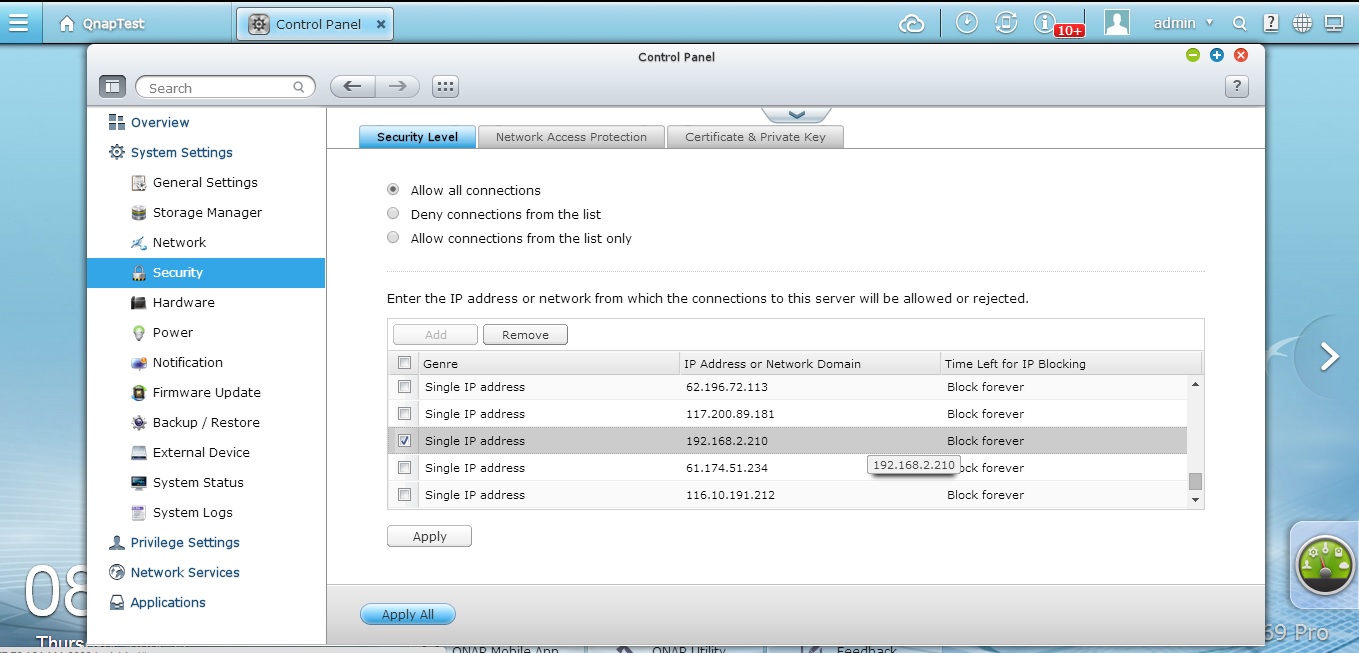
Qsync: Bigger than Dropbox!Qsync: Limitsiz Dropbox!,

But we wont to share the files even out the Sync Folder. Please do that!!!
I guess they may add this feature in this year, but not sure..
And we wont slideshow for jpg files (same as dropbox)
desperately want/need linux support!
+1 waiting for linux client!
A Qnap Qsync client would be great. Seen as that QNAP is based on linux, and an apple version already exists, it should not be too hard, should it??
Pity it is so slow. I backup up 70Gb to Google drive and the same to Drop Box in a few hours. WSYNC took 2 days over a ethernet cable 1gb LAN connection. TS212
Dropbox is a bit crap, but it runs everywhere, QSync is much, much smaller as it only runs on a tiny portion of connected computers.
Add to this it’s dangerous, bug ridden, overwriting, file losing disastrous functionality and it’s best avaoided. (See the forums for details and don’t trust ANYTHING to QSync that you haven’t backed up elsewhere!)
Could you explain what do you mean by “the name conflicts between Qsync server (NAS) and clients after it is back online from its disconnection” (in Conflict Policies)? What is this “name conflict” ?