I - Is it Worth to Upgrade RAM on Qnap?
II – Can I Use Any RAM Brand With Qnap?
III – How To Upgrade RAM For TS-x53 Pro, SS-x53 Pro, TS-651, TS-851, TS-x69 series (2/4/5/6/8-bay)
IV – How To Upgrade RAM For TS-X69U-RP/SP series (4/8/12-bay)
V – How To Upgrade RAM For TS-x79 series, TS-x79U-SAS series, TS-x70U series
VI – How To Upgrade RAM For TS-ECx80U series
VII – How To Upgrade RAM For TS-ECx80 Pro series
VIII – How To Upgrade RAM For TS-251、TS-451
.
I - Is it Worth to Upgrade RAM on Qnap?
Why Perform the Upgrade
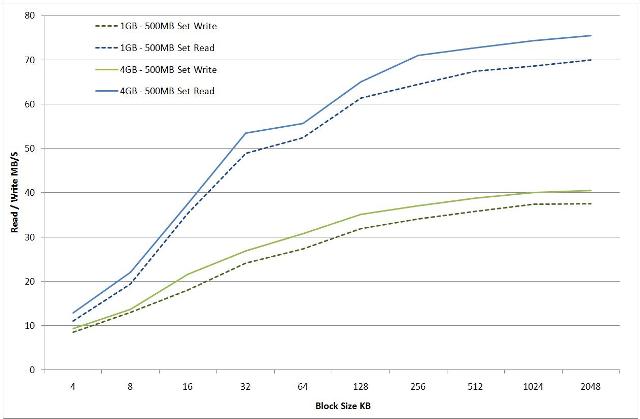
Well first off, I like to tinker, secondly I had read that there was a small performance improvement to be made on the read/write speed. There are other benefits, which I will briefly touch on later, but the two listed were the motivating reasons for me performing the modification.
Memory is cheap and as the device was coming towards the end of the warranty period, I thought what the hell I’ll give it a go.
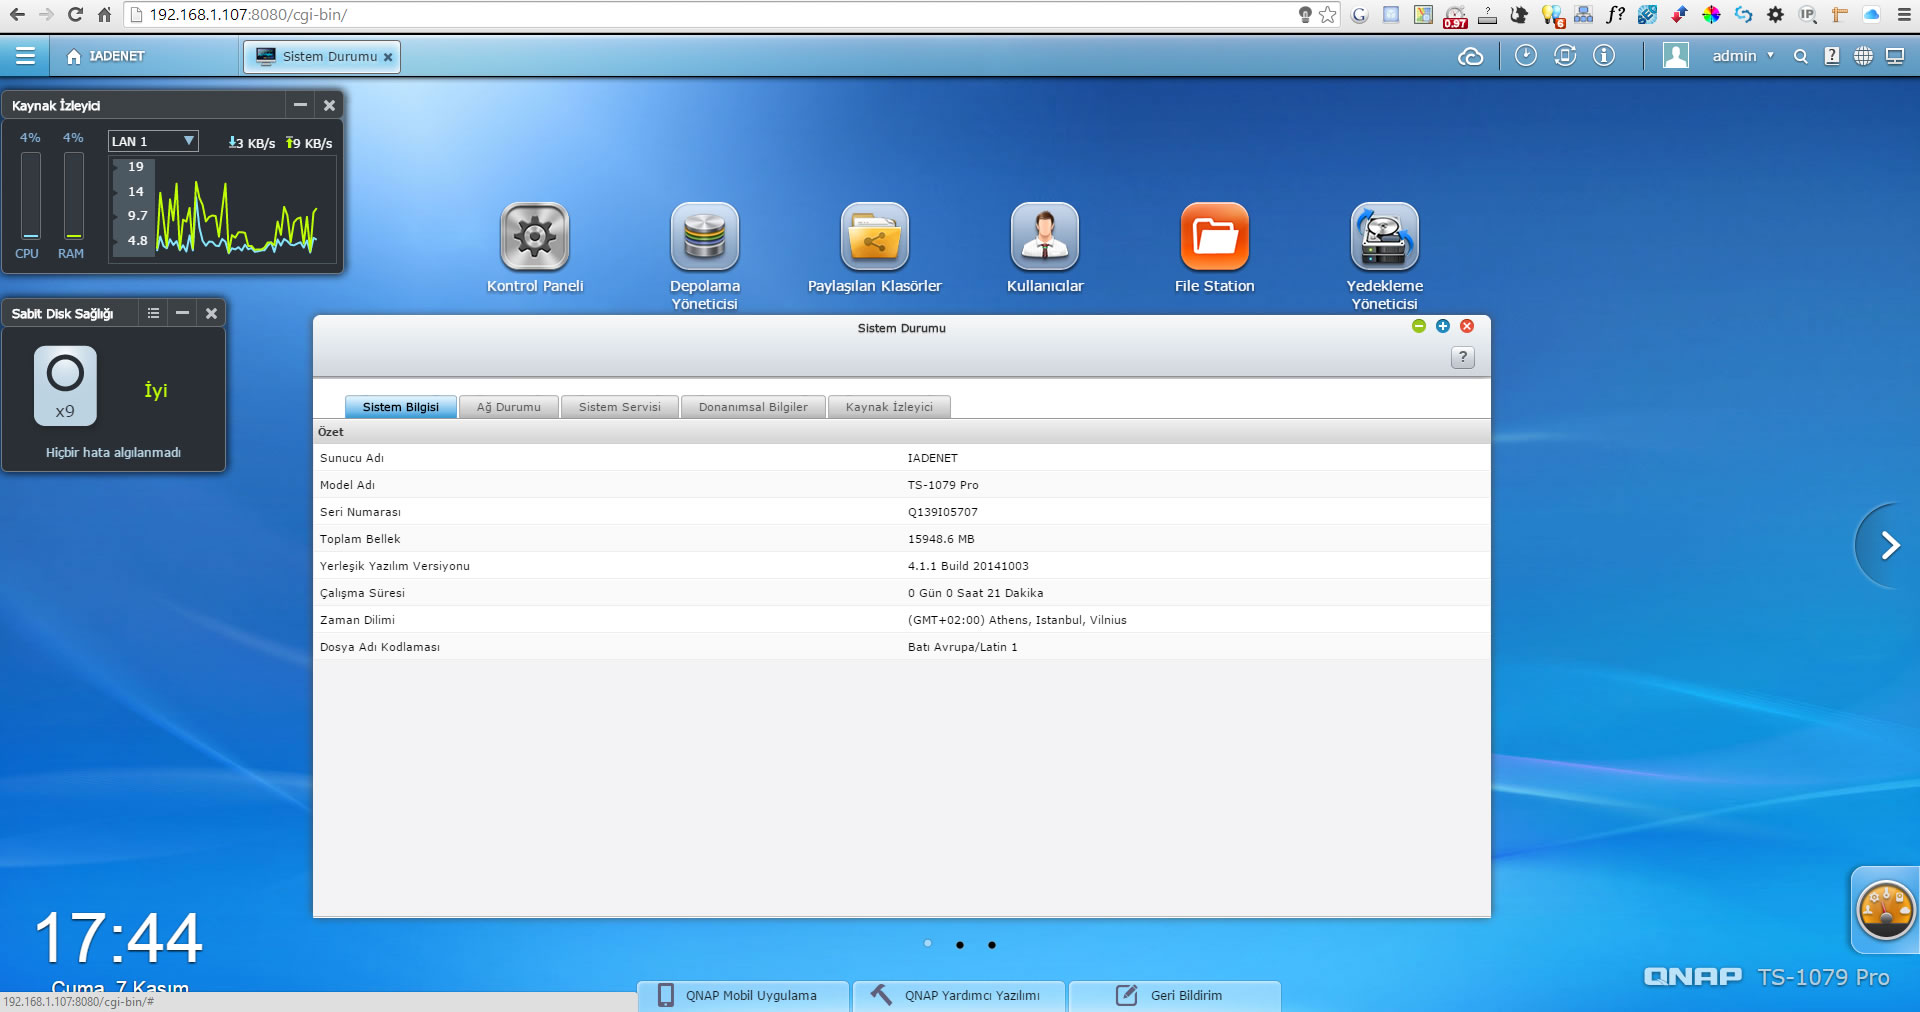
Performance Benchmarks (System Admin Snapshot @ 4GB)
http://www.codeproject.com/Articles/219533/QNAP-NAS-Memory-Upgrade-Hardware-Change-and-Perfor)
.
II – Can I Use Any RAM Brand With Qnap?
If you use RAM with same specifications that Qnap models supports, you can use without problem;


.
Also you can search Qnap forms if Qnap support RAM you plan to use;
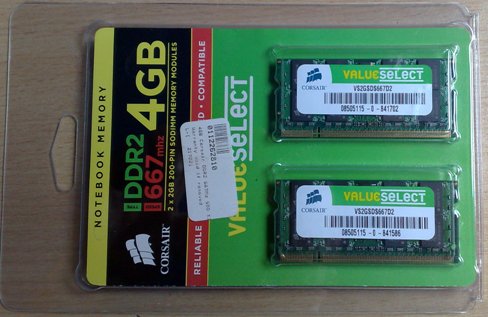
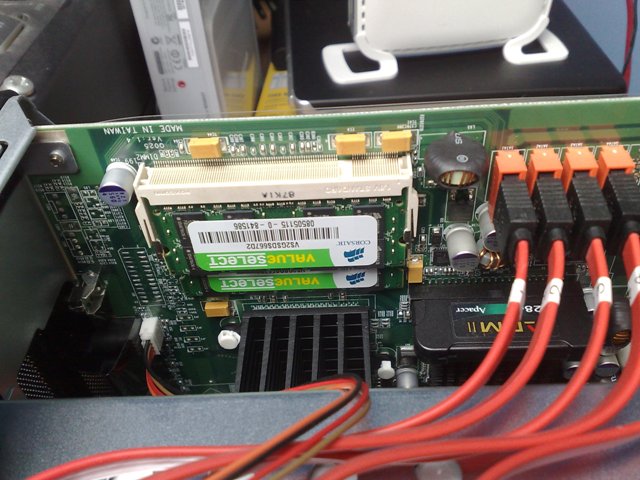
As Reported Corsair is compatable with Qnap;
The NAS box used standard 200 Pin, 667MHz DDR2 SO-Dimm modules as used in laptops, the NAS box has 2 slots, and can take a maximum of 4GB, so I ordered a pair of 2GB modules from Corsair.
http://www.codeproject.com/Articles/219533/QNAP-NAS-Memory-Upgrade-Hardware-Change-and-Perfor)
.
Also one of our costumer reported “Crucial Ballistix Sport 8GB 240-Pin DDR3 SDRAM DDR3″ works fine with their Qnap Ts-1079 Pro
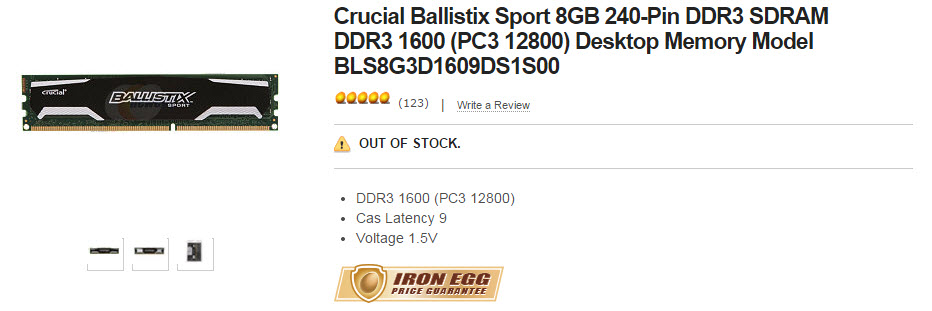
(Thanx Tolga Hancı for information)
.
III – How To Upgrade RAM For TS-x53 Pro, SS-x53 Pro, TS-651, TS-851, TS-x69 series (2/4/5/6/8-bay)
Follow the steps below to install a RAM module on the NAS.
- Turn off the NAS. Disconnect the power adaptor, network cable(s), and any other connectors or cables from the NAS.
- Before installing the memory module, put on an antistatic wrist strap to prevent electrostatic discharge. The crocodile clip should be connected to the ground.
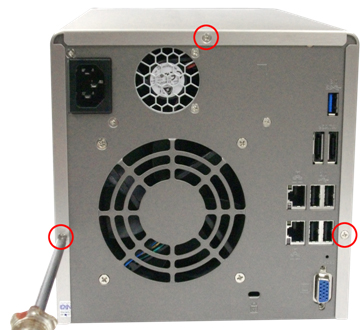
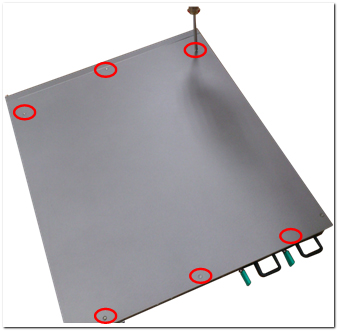
- Loosen the three screws on the rear of the NAS.
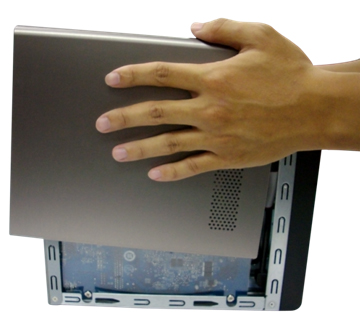
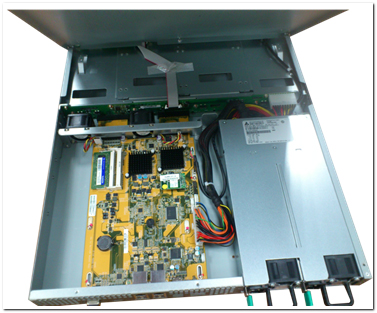
- Remove the case cover of the NAS gently.
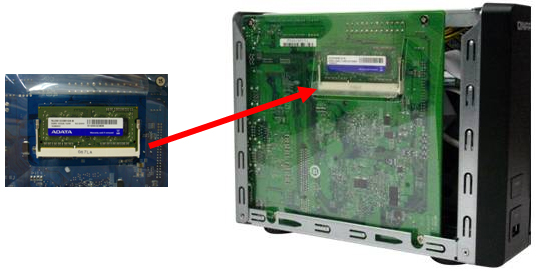
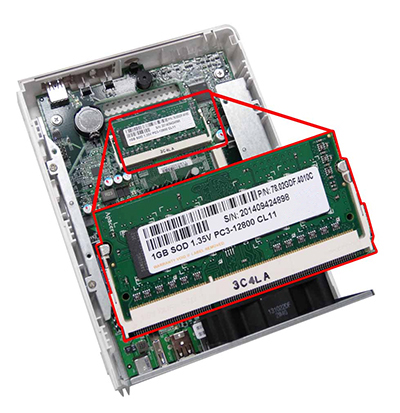
- Locate the memory slot. Make sure the slot is empty.
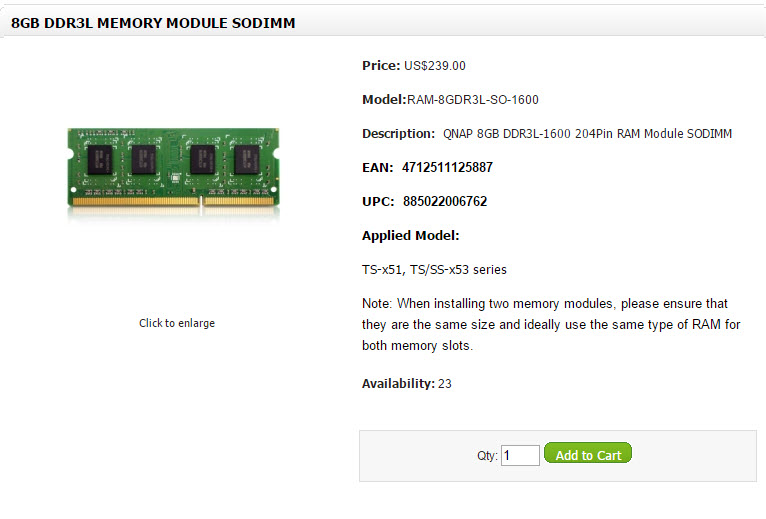
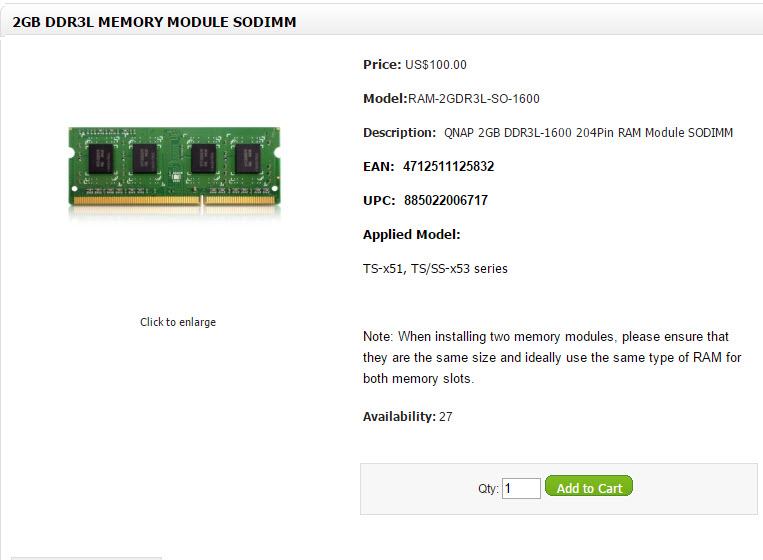
Note: For TS-x53 Pro, SS-x53 Pro, TS-651 and TS-851 models, always ensure that a memory module is installed in the Primary slot (red). If not, then the system will fail to start. When installing two memory modules, please ensure that they are the same size and ideally use the same type of RAM for both memory slots. The maximum supported memory is 8GB combined. 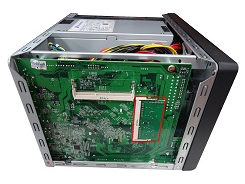
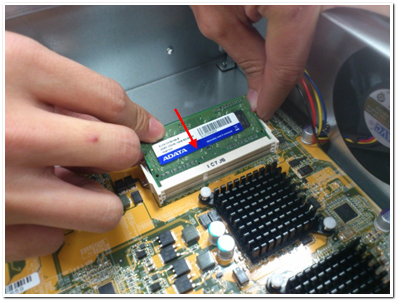
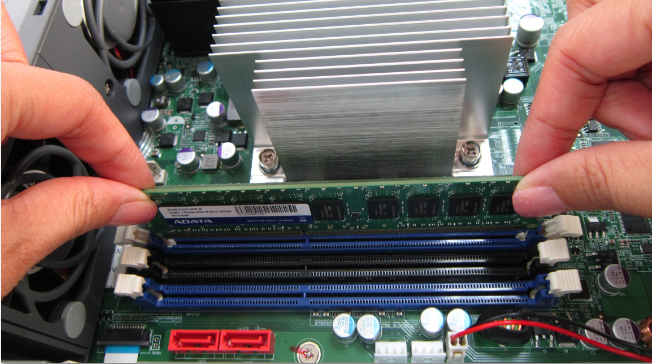
- Grasp the edge of the memory module. Align the notch on the gold edge of the module with the notch in the memory slot. Slide the memory module to the slot at a 45-degree angle (approximately).
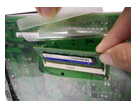
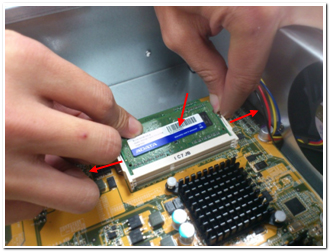
- Gently press the memory module into the slot until it is seated fully.
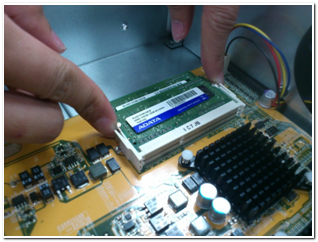
- Rotate the memory module towards the motherboard until the securing clips clicks into place.
- Close the case cover and fasten the screws. Connect the power adaptor and cables back to the NAS.
- To check that the memory module is recognized by the NAS, power up the NAS and login the web interface as an administrator. Go to “System Status” > “System Information” and check the total memory in “Hardware Information”.
.
IV – How To Upgrade RAM For TS-X69U-RP/SP series (4/8/12-bay)
Follow the steps below to install a RAM module on the NAS.
- Turn off the NAS. Disconnect the power adaptor, network cable(s), and any other connectors or cables from the NAS.
- Before installing the memory module, put on an antistatic wrist strap to prevent electrostatic discharge. The crocodile clip should be connected to the ground.
- Open the NAS.
- TS-469U-RP/SP: Loosen the six screws on the top of the NAS.
- TS-869U-RP and TS-1269U-RP: Loosen the two screws on the rear of the NAS.
- TS-469U-RP/SP: Loosen the six screws on the top of the NAS.
- Open the NAS.
- Slide the memory module to the slot at a 45-degree angle (approximately).
- Press the memory module down while holding the clips open.
- Make sure the memory module sits in properly with the clips in place.
- Close the NAS cover and fasten the screws. Connect the power adaptor and cables back to the NAS.
.
V – How To Upgrade RAM For TS-x79 series, TS-x79U-SAS series, TS-x70U series
TS-x79 series, TS-x79U-SAS series, TS-x70U series
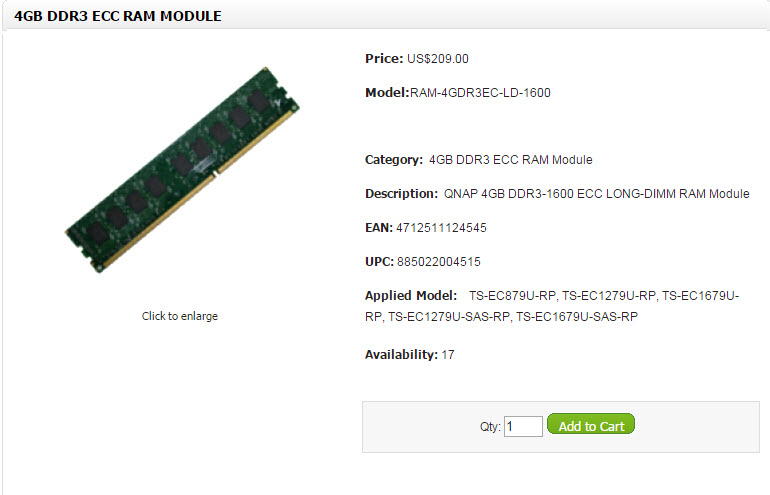
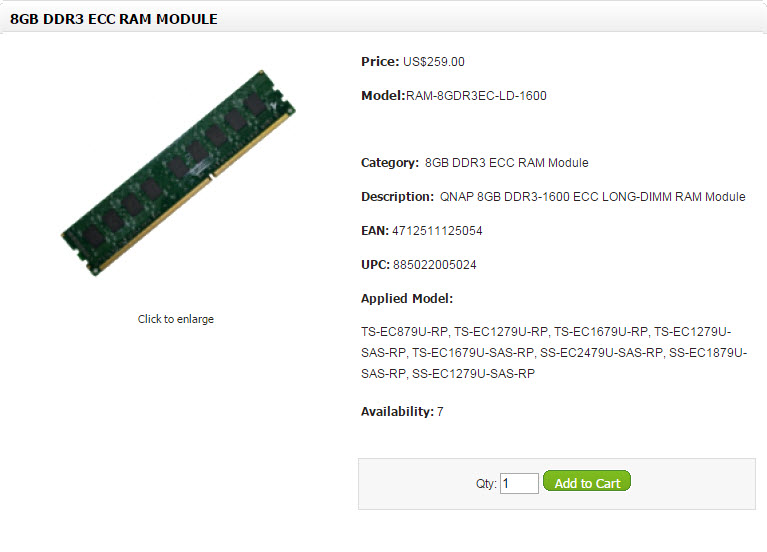
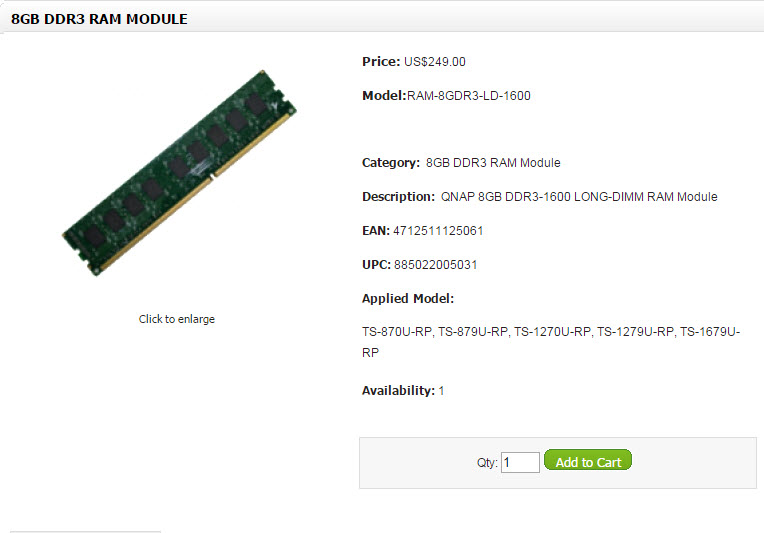
QNAP provides a 4GB DDR3* RAM module and a 4GB DDR3 ECC** RAM module (optional purchase) for users to upgrade the memory of the NAS. Insert an extra RAM module on the motherboard of the NAS to upgrade the memory. The total memory will be shown in “System Information” of the administration page.
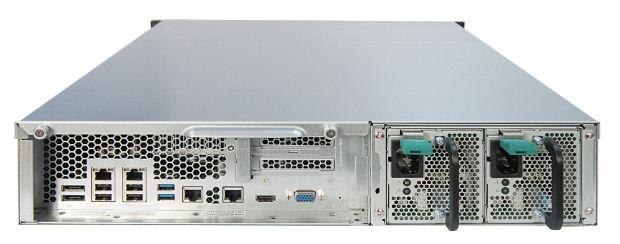
| *Applied models: TS-879U-RP, TS-1279U-RP, TS-1679U-RP, TS-870U-RP, TS-1270U-RP. **Applied models: TS-EC879U-RP, TS-EC1279U-RP, TS-EC1679U-RP. |
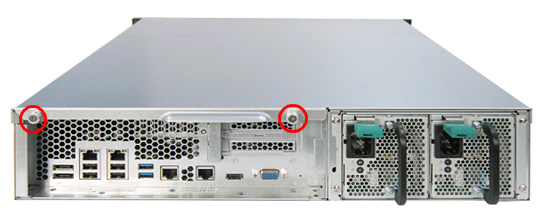
- Loosen the 2 screws on the rear of the NAS as shown in the illustration.
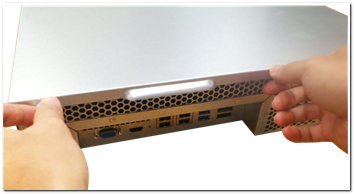
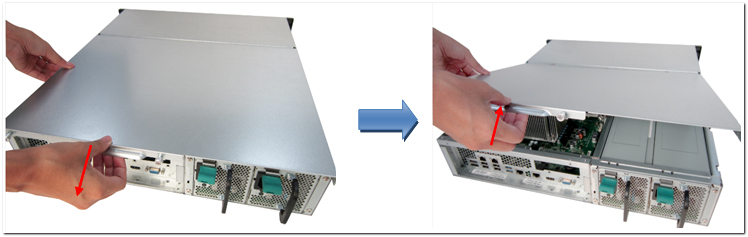
- Hold the notch at the edge of the top cover. Remove the top cover in both hands.
- Release the ejector clips gently by pulling them out of the sides of the RAM slot.
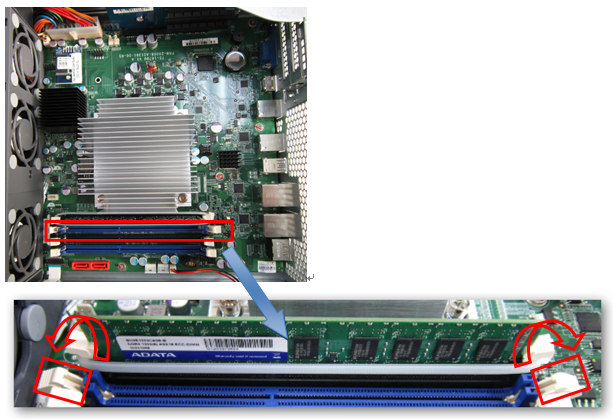
- Grasp the edge of the RAM module. Align the notch on the gold edge of the RAM module with the notch in the RAM slot. Insert the RAM module to the RAM slot until it cannot go any further.
.
VI – How To Upgrade RAM For TS-ECx80U series
TS-ECx80U series
- Turn off the NAS. Disconnect the power adaptor, network cable(s), and any other connectors or cables from the NAS.
- Before installing the network expansion card, put on an antistatic wrist strap to prevent electrostatic discharge. The crocodile clip should be connected to the ground.
- Loosen the 2 screws on the rear of the NAS as shown in the illustration.

- Hold the handle pulled backwards to remove the Motherboard Drawer .

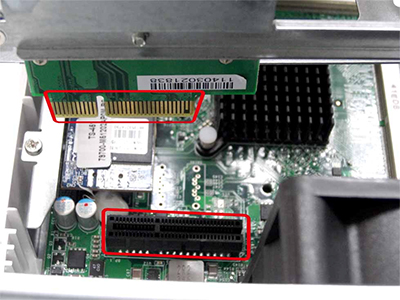
- Release the ejector clips gently by pulling them out of the sides of the RAM slot.

- Grasp the edge of the RAM module. Align the notch on the gold edge of the RAM module with the notch in the RAM slot. Insert the RAM module to the RAM slot until it cannot go any further.

- Insert the Motherboard Drawer, push the handle, locking NAS rear two screws.
.
VII – How To Upgrade RAM For TS-ECx80 Pro series
TS-ECx80 Pro series
- Turn off the NAS. Disconnect the power adaptor, network cable(s), and any other connectors or cables from the NAS.
- Before installing the network expansion card, put on an antistatic wrist strap to prevent electrostatic discharge. The crocodile clip should be connected to the ground.
- Loosen the seven screws on the rear of the NAS.

- Remove the case cover of the NAS gently.

- Loosen the cable

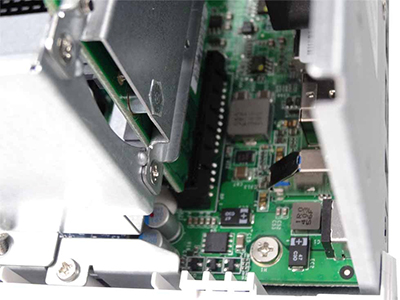
- Release the ejector clips gently by pulling them out of the sides of the RAM slot.

- Grasp the edge of the RAM module. Align the notch on the gold edge of the RAM module with the notch in the RAM slot. Insert the RAM module to the RAM slot until it cannot go any further.

- Install the NAS enclosure and lock the seven screws on the back of the NAS.
.
VIII – How To Upgrade RAM For TS-251、TS-451
TS-251、TS-451
Follow the steps below to install a RAM module on the NAS.
- Turn off the NAS. Disconnect the power adaptor, network cable(s), and any other connectors/cables from the NAS.
- Remove any installed hard drives from the NAS.
- Before installing the memory module, put on an antistatic wrist strap to prevent electrostatic discharge. The crocodile clip should be grounded.
- Remove the screws on the rear (top and bottom) of the NAS. If you have a 2-bay NAS, it will have two screws. A 4-bay NAS will have four.
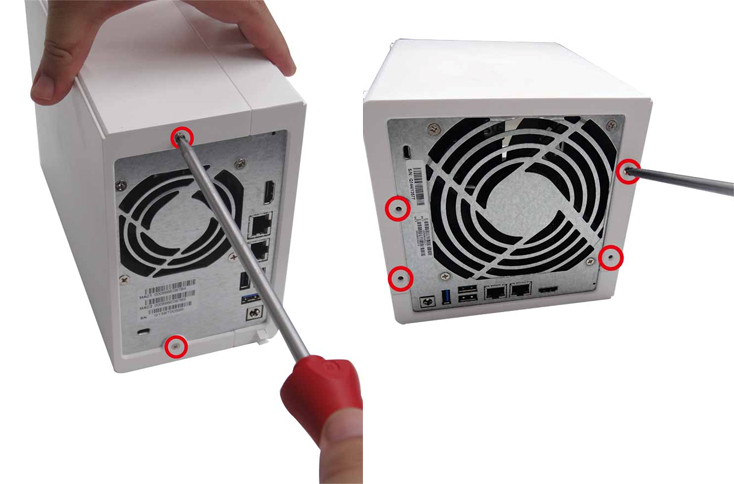
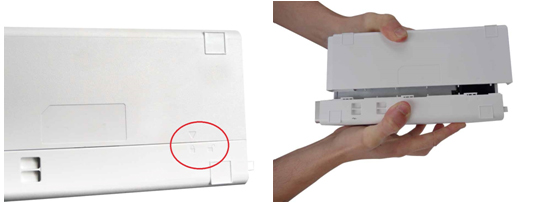
- Gently remove the case cover of the NAS by sliding it apart (see the underside of the NAS for visual indicators of the NAS case being locked/unlocked)
- Remove the four inner screws (two on each side) of the hard drive cage.
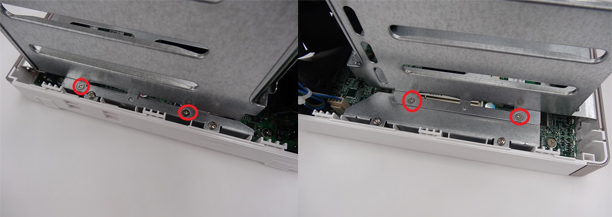
- If it is a 4-bay NAS, you will also need to remove two screws on the top of the hard drive cage.
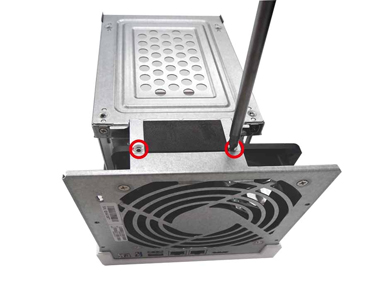
- Gently remove the hard drive cage from the NAS by lifting it out of its slot.
- Always ensure that a memory module is installed in the Primary slot (red). If not, then the system will fail to start. When installing two memory modules, please ensure that they are the same size and ideally use the same type of RAM for both memory slots. The maximum supported memory is 8GB combined.
- Reattach the hard drive cage to the NAS. Please ensure that it correctly plugs into the slot.
- Secure the hard drive cage by fastening the four inner screws (for the 4-bay NAS, please fasten the two additional top screws.) Then reattach the case cover of the NAS by gently sliding it back together.
- Fasten the two/four screws onto the rear of the NAS.
- Reinsert your hard drives to the NAS.
- Connect the power adaptor and cables back to the NAS.
- To check that the memory module is recognized by the NAS, power up the NAS and login the web interface as an administrator. Go to “System Status” > “System Information” and check the total memory in “Hardware Information”.
http://www.qnap.com/index.php?lang=en&sn=4605
How to Upgrade the Memory(RAM) of NASNAS Cihazınız için RAM yükseltmesi,
on the 251 there is now a third screw in the back that holds the HD assembly
I have a TS-459Pro II
Has one Gig of Mem Factory installed.
Can I install 2x4gb modules?
Running latest firmware
Thanks
Kevin