+"Lun Stuck At Removing & Other Qnap iSCSI Lun Problems" document added;
http://qnapsupport.net/lun-stuck-at-removing-other-qnap-iscsi-lun-problems/
+"High CPU & RAM Usage Problems & How To Understand Which Service Use Resource" Document added;
http://qnapsupport.net/high-cpu-ram-usage-problems-how-to-understand-which-service-use-resource/
+"The File or Directory is Corrupted and Unreadable Error On iSCSI Lun Folder" Document added
http://qnapsupport.net/the-file-or-directory-is-corrupted-and-unreadable-error-on-iscsi-lun-folder/
+"How To Hide Folder & Disable Recycle Bin For Other Users" Document added;
http://qnapsupport.net/how-to-hide-folder-disable-recycle-bin-for-other-users/
+"How To Mount Qnap ISCSI Lun On NAS & Backup To Azure?" Document Added
http://qnapsupport.net/how-to-mount-qnap-iscsi-lun-on-nas-backup-to-azure/
+"Backup Job Unsupported Filenames Problem: “Warning: Skip the /nas/Backup/folder1/.streams” file which has an unsupported filename!" Document Added;
http://qnapsupport.net/backup-job-unsupported-filenames-problem-warning-skip-the-nasbackupfolder1-streams-file-which-has-an-unsupported-filename/
+"MySQL Problems, Cannot Access SQL Server After Update Firmware & How to Solve" Document extended;
http://qnapsupport.net/mysql-problems-how-to-solve/
+"Qnap Windows Access Smb 1.0 Share Problem After Windows Wannacry Update Patch" Document added
http://qnapsupport.net/qnap-windows-access-smb-1-0-share-problem-after-windows-wannacry-update-patch/
+"How To Recover Unreachible NAS with “Restore Factory Settings” Feature" Document added;
http://qnapsupport.net/how-to-recover-unreachible-nas-with-restore-factory-settings-feature/
+"Windows Server 2012/2008 iSCSI Lun File Problems: How To Start chkdsk Command" Document added;
http://qnapsupport.net/windows-server-lun-file-system-problems/
+"How To Stop Every Day At 02.00 Am “[Volume Volume1, Pool 1] Start To Reclaim Volume” Process" Document Added;
http://qnapsupport.net/how-to-stop-every-day-at-02-00-am-volume-volume1-pool-1-start-to-reclaim-volume-process/
+"Qnap Reboot Itself Randomly Even There is No Problem on RAID, What Should I Do?" Document extended
http://qnapsupport.net/qnap-reboot-itself-randomly-even-there-is-no-problem-on-raid-what-should-i-do/
+"Error Page Not Found Or The Web Server Is Currently Unavabile. Please Contact The Website Admin For Help" Document added;
http://qnapsupport.net/error-page-not-found-or-the-web-server-is-currently-unavabile-please-contact-the-website-admin-for-help/
+"How To Unmap Lun, Move Lun To Another Target or Delete Lun on Qnap" Document added;
http://qnapsupport.net/how-to-unmap-lun-move-lun-to-another-target-or-delete-lun-on-qnap/
+"Qnap Smb Service Totaly Broken After Firmware Update? How To Fix" document extended;
http://qnapsupport.net/enable-trusted-domains-doesnt-work-how-to-reinstall-to-fix-smb/
+"How To Purchase And Use myQNAPcloud SSL Certificates & How To Use SSL Certificates" Document Added;
http://qnapsupport.net/how-to-purchase-and-use-myqnapcloud-ssl-certificates-how-to-use-ssl-certificates/
+"Load Balance Setup: Which Is The Best Port Trunking Option?" Document Added;
http://qnapsupport.net/load-balance-setup-which-is-the-best-port-trunking-option/
+"Qsync Failed To Inıtialize Problem & How To Restore Homes Folder" Document fixed;
http://qnapsupport.net/qnap-qsync-problems-and-how-to-fix/
+" Qnap Blue Login Screen Problem" Document Added;
http://qnapsupport.net/qnap-blue-login-screen-problem/
+"Cannot Access NAS With \\NasName But Can Access Via \\IPAdress. Why?" Document Added;
http://qnapsupport.net/cannot-access-nas-with-nasname-but-can-access-via-ipadress-why/?lang=en
+"Qnap SMB / Cifs Backup Fails To Connect, Even Test Connection Seems Ok?" Document added;
http://qnapsupport.net/qnap-smb-cifs-backup-fails/?lang=en
+"Virtual Switch Blank Page Problem, How To Reinstall Network Config & “You don’t have permission to access /apps/netmgr/ on this server” Problem" Document added;
http://qnapsupport.net/virtual-switch-blank-page-problem-how-to-reinstall-network-config-you-dont-have-permission-to-access-appsnetmgr-on-this-server-problem/?lang=en
+"How To Create Multi Volume/Second RAID And Upload Folders To This Second RAID/Volume" Document added;
http://qnapsupport.net/how-to-create-multi-volumesecond-raid-and-upload-folders-to-this-second-raidvolume/?lang=en
+"What is QPKG & How To Install Application Manually & How To Reinstall App Center" Document Extended
http://qnapsupport.net/what-is-qpkg-how-to-use/?lang=en
+"Container Station Problems & How To Fix" Docuement Added;
http://qnapsupport.net/container-station-problemleri-ve-cozumu/
+"Read I/O error, sense_key=0×0, asc=0×0, ascq=0×0, CDB=28 00 57 09 ed 18 00 00 10 00 Errors & How To Fix" Document Added;
http://qnapsupport.net/read-io-error-sense_key0x0-asc0x0-ascq0x0-cdb28-00-57-09-ed-18-00-00-10-00-errors-how-to-fix/?lang=en
+"Qnap Lun Free Size Is Not Same on Windows ISCSI Disk? How To Fix Qnap Lun Dead Space" Document Added;
http://qnapsupport.net/qnap-lun-free-size-is-not-same-on-windows-iscsi-disk-how-to-fix-qnap-lun-dead-space/?lang=en
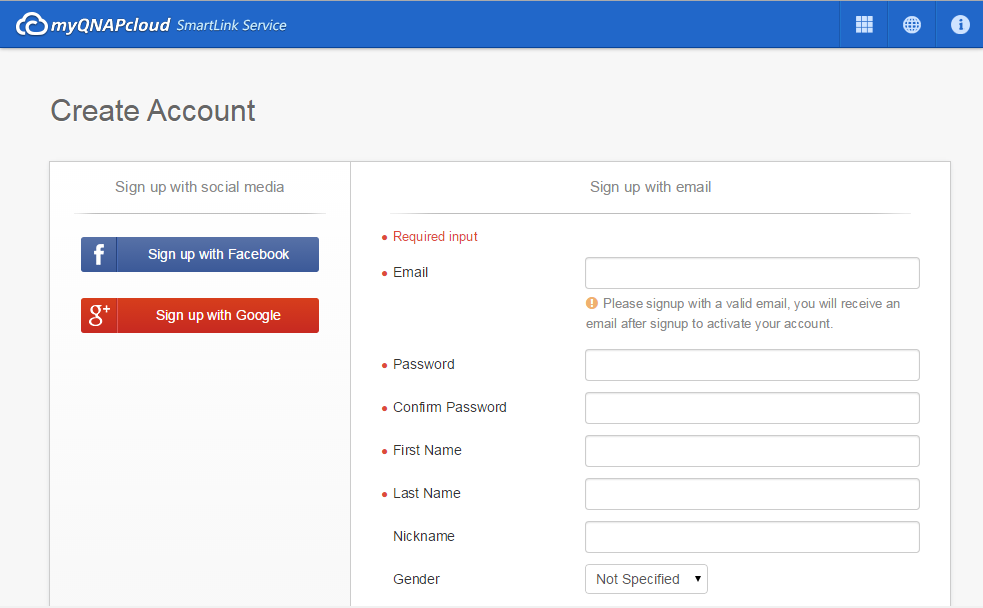
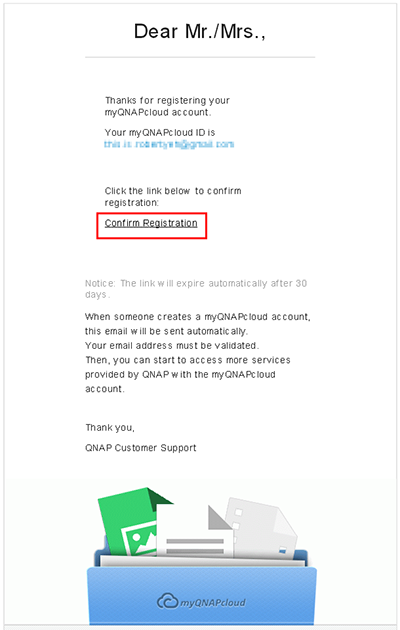
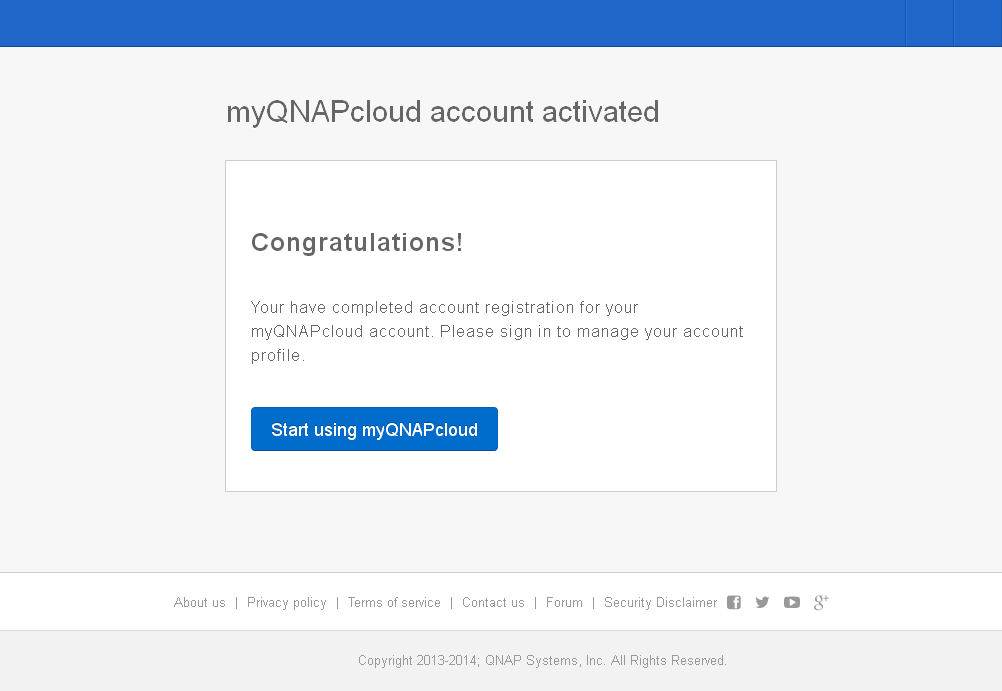
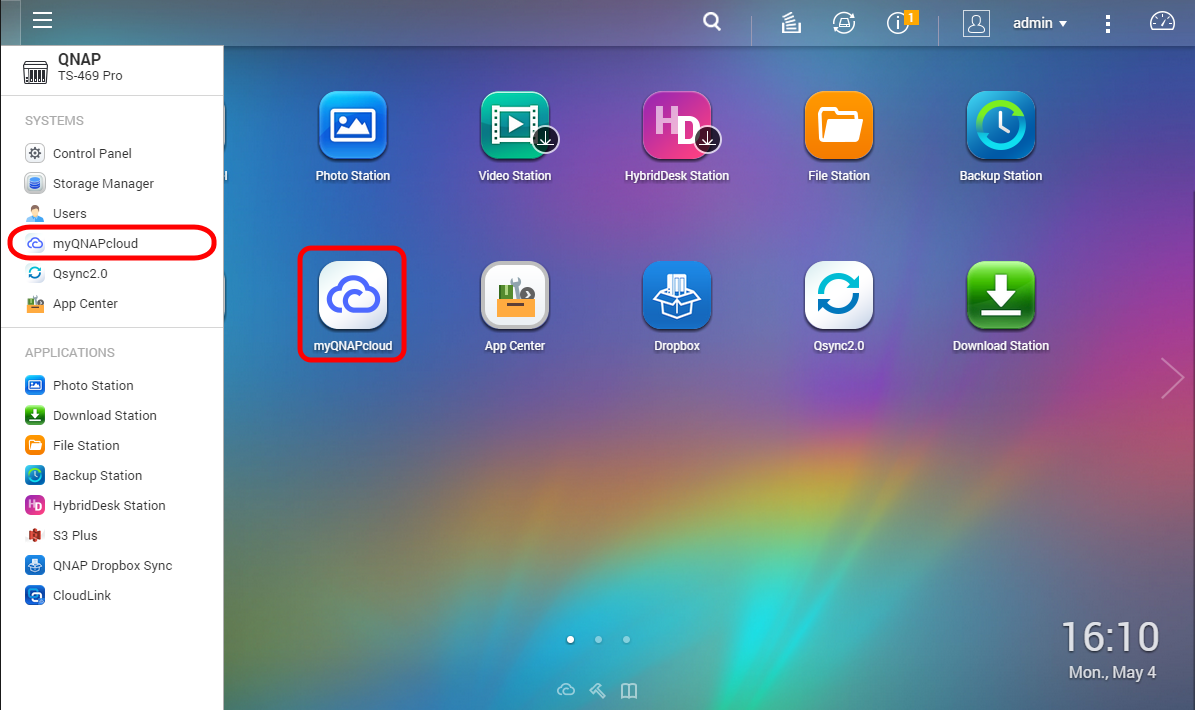
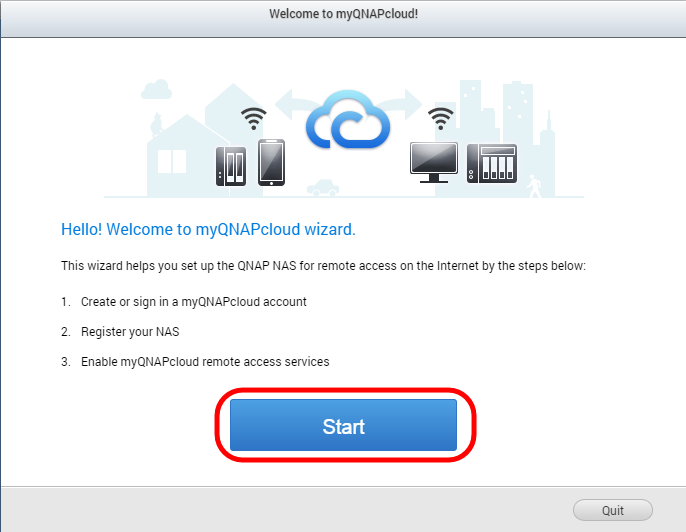
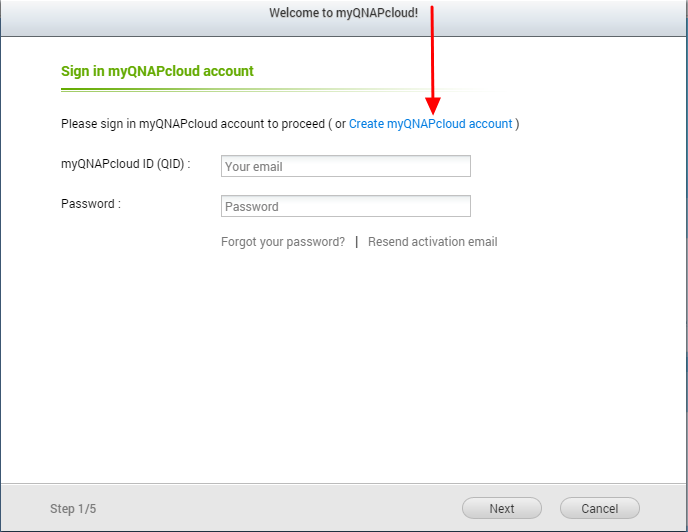
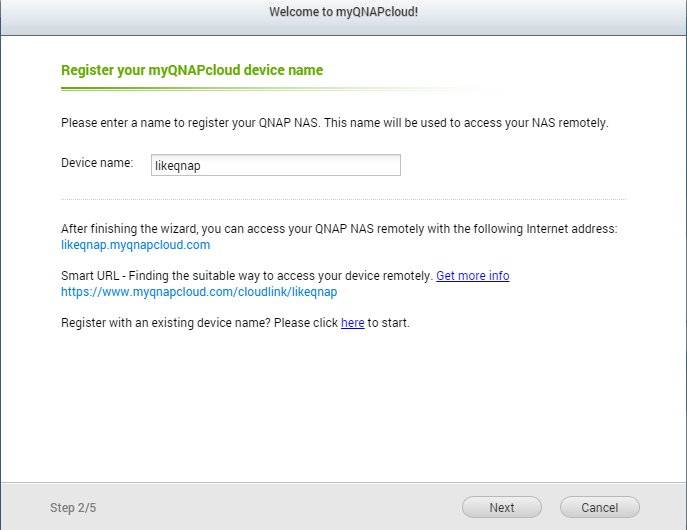
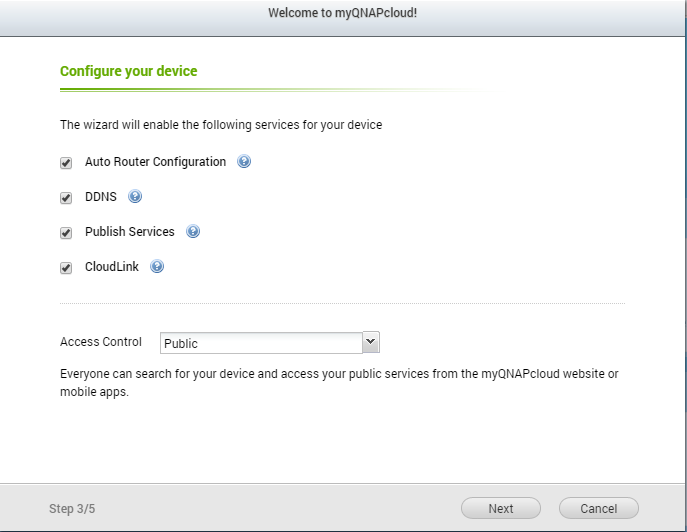
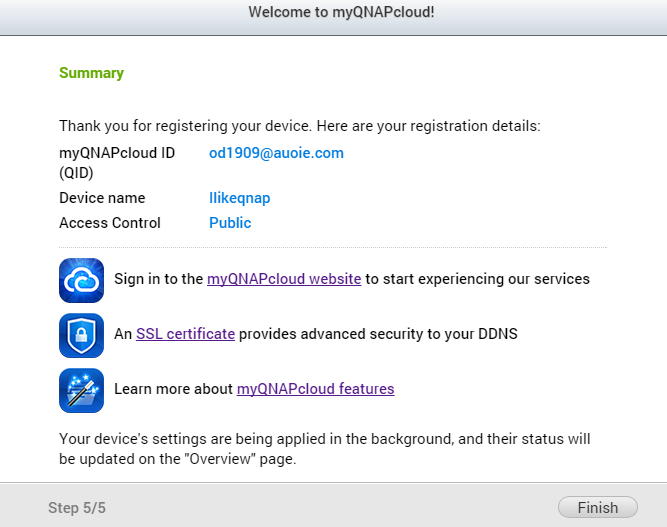
+"myQNAPcloud Name Registration Problems & How To Solve" Document Added;
http://qnapsupport.net/myqnapcloud-kayit-etme-problemleri-ve-cozumleri/
+"How To Be Sure If Its Qnap Hardware or HDD Issue?" Document Added
http://qnapsupport.net/how-to-be-sure-if-its-hdd-problem/?lang=en
+"Windows 7 / Windows 10 Backup Cannot Save To A Network Location On NAS, How To Solve!" Document Added;
http://qnapsupport.net/windows-7-windows-10-backup-isleminde-cannot-save-to-a-network-location-hatasi/
+"Qnap Exel / Word Files “Access Denied. Contact Your Administrator” Problem & How To Solve" Document added;
http://qnapsupport.net/qnap-exel-word-files-access-denied-contact-your-administrator-problem-how-to-solve/?lang=en
+"Qnap “System Reserved” Storage Takes Too Much Space? What Is Sys. Reserverd And How To Fix This" Document Added;
http://qnapsupport.net/qnap-system-reserved-storage-takes-too-much-space-what-is-sys-reserverd-and-how-to-fix-this/?lang=en
+"Qnap Login Interface Blue Screen Error After Firmware Upgrade & How To Solve" Document Added;
http://qnapsupport.net/qnap-login-interface-blue-screen-error-after-firmware-upgrade-how-to-solve/?lang=en
+"RAID Seems Unmounted and Mounting Volume Failed; How To Start e2fsck Command And Mount Volume" Document extended;
http://qnapsupport.net/raid-seems-unmounted-and-mounting-volume-failed-how-to-start-e2fsck-command-and-mount-volume/?lang=en
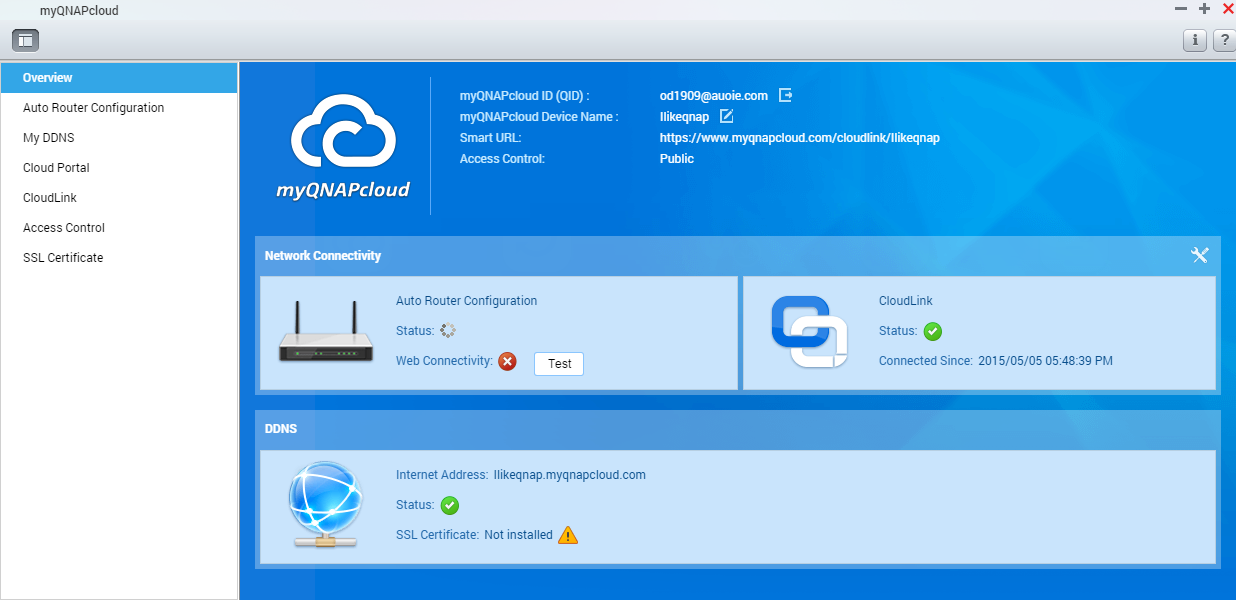
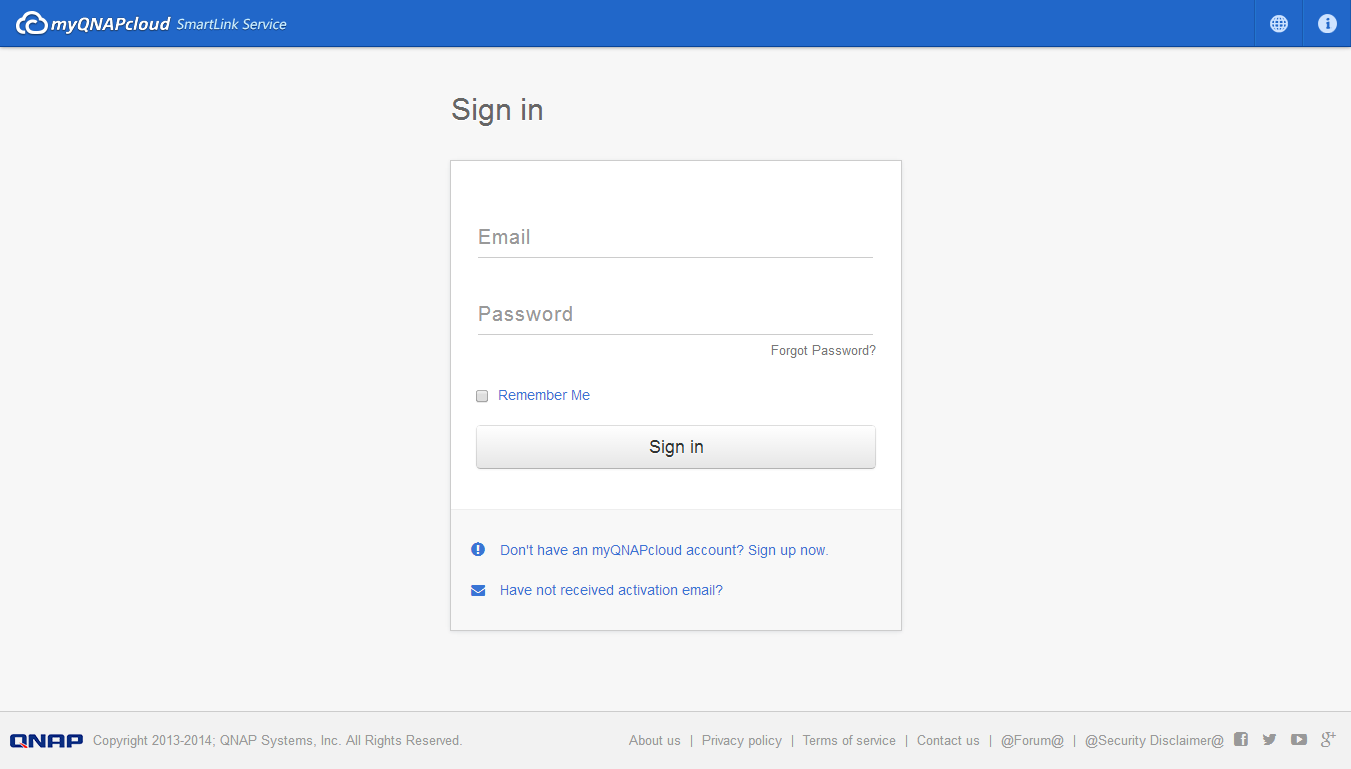
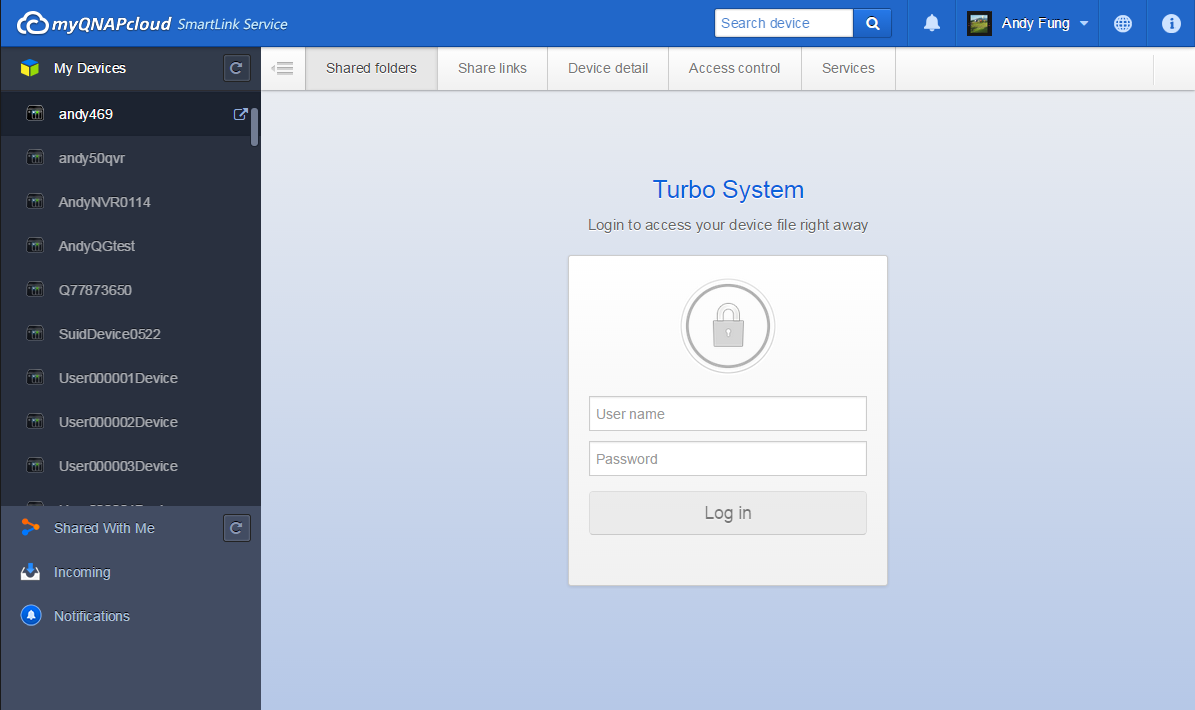
+"Qnapcloud UPnP Router Problem; I Can Access NAS Via Cloudlink, But name.myqnapcloud.com Doestn Work?" Document renewed!
http://qnapsupport.net/qnapcloud-upnp-router-problem-i-can-access-nas-via-cloudlink-but-name-myqnapcloud-com-doestn-work/?lang=en
+"How To Remove Second Volume And Expand First Volume Capacity" Document Added;
http://qnapsupport.net/how-to-remove-second-volume-and-expand-first-volume-capacity/?lang=en
+"Issue of Cloud Drive Sync Problems & How To Solve" Document Added;
http://qnapsupport.net/issue-of-cloud-drive-sync-problems-how-to-solve/?lang=en
+"PhotoStation Errors and How To Reinstall Database; Thumbnail Generation Failed A Few Photos, No Folder View And Albums Empty After Firmware, Photo Station Albums Gone, Photostation Not Showing All Files" Document Added;
http://qnapsupport.net/photostation-errors-and-how-to-reinstall-database/?lang=en
+"Container Station Only Shows My Nas And The Refresh İcon, But No Folders At All… How To Fix" Document added;
http://qnapsupport.net/container-station-only-shows-my-nas-and-the-refresh-icon-but-no-folders-at-all-how-to-fix/?lang=en
+"About Qnap Warranty Issue" Document Added;
http://qnapsupport.net/about-qnap-warranty-issues/?lang=en
+"Qnap Unable To Play MKV Files Anymore After Firmware Update And Gives “The Video Does Not Support Online Playback or Does Not Exist” Error?" Docuemnt Added;
http://qnapsupport.net/qnap-unable-to-play-mkv-files-anymore-after-firmware-update-and-gives-the-video-does-not-support-online-playback-or-does-not-exist-error/?lang=en
+"Qnap Download Station Stops Working Suddeny And Gives This Error; Download Station Is Currently Offline" Document Added;
http://qnapsupport.net/qnap-download-station-stops-working-suddeny-and-gives-download-station-is-currently-offline/?lang=en
+"RAID Seems Unmounted and Mounting Volume Failed; How To Start e2fsck Command And Mount Volume" Document Added;
http://qnapsupport.net/raid-seems-unmounted-and-mounting-volume-failed-how-to-start-e2fsck-command-and-mount-volume/
+"How To Understant Which Broken HDD Cause RAID Rebuilding Process Slow Down" Document Added;
http://qnapsupport.net/how-to-understant-which-broken-hdd-cause-raid-rebuilding-process-slow-down/
+"How To Add Or Remove Spare Disk From RAID" Document Added;
http://qnapsupport.net/how-to-add-or-remove-spare-disk-from-raid/?lang=en