I – PSP Emulator
II – Nintendo DS
III – Playstation
IV – Nintendo 64
V – Nintendo Dreamcast
VI – Windows Emulator (For Old Windows Games)
VII – Where To Find Emular BIOS Files?
VIII – Where To Find Game Roms?
I – PSP Emulator
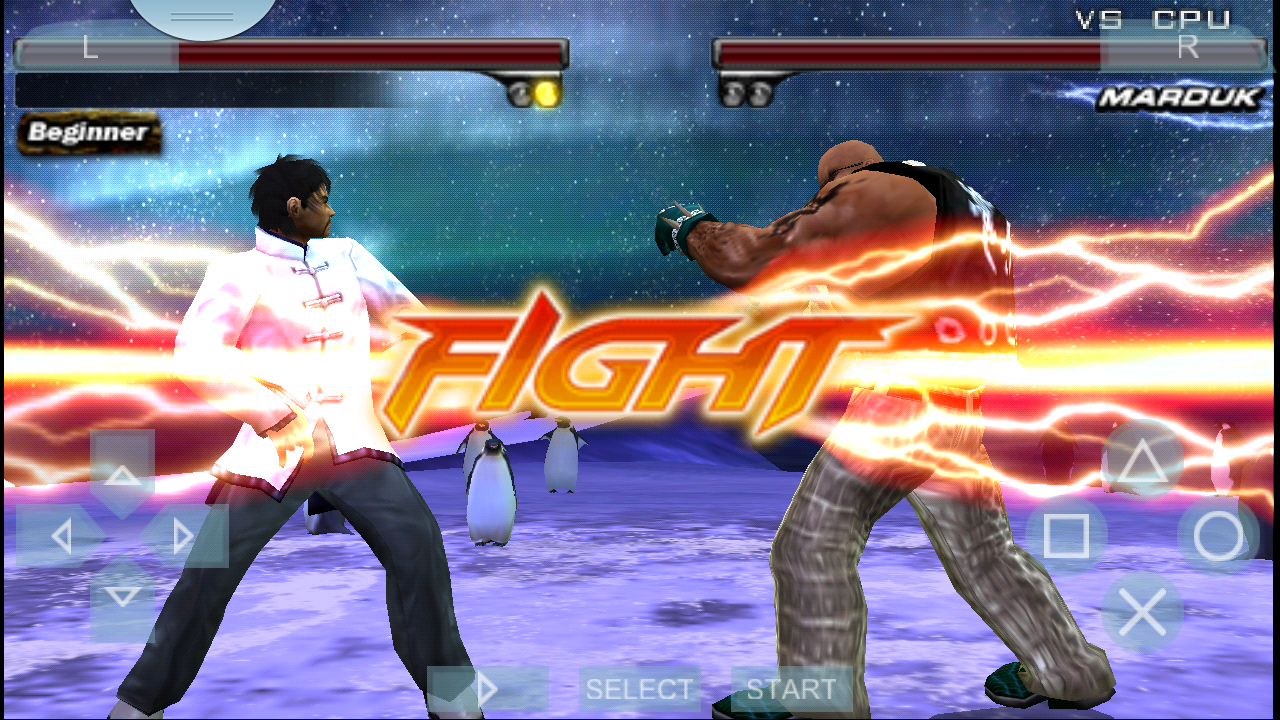
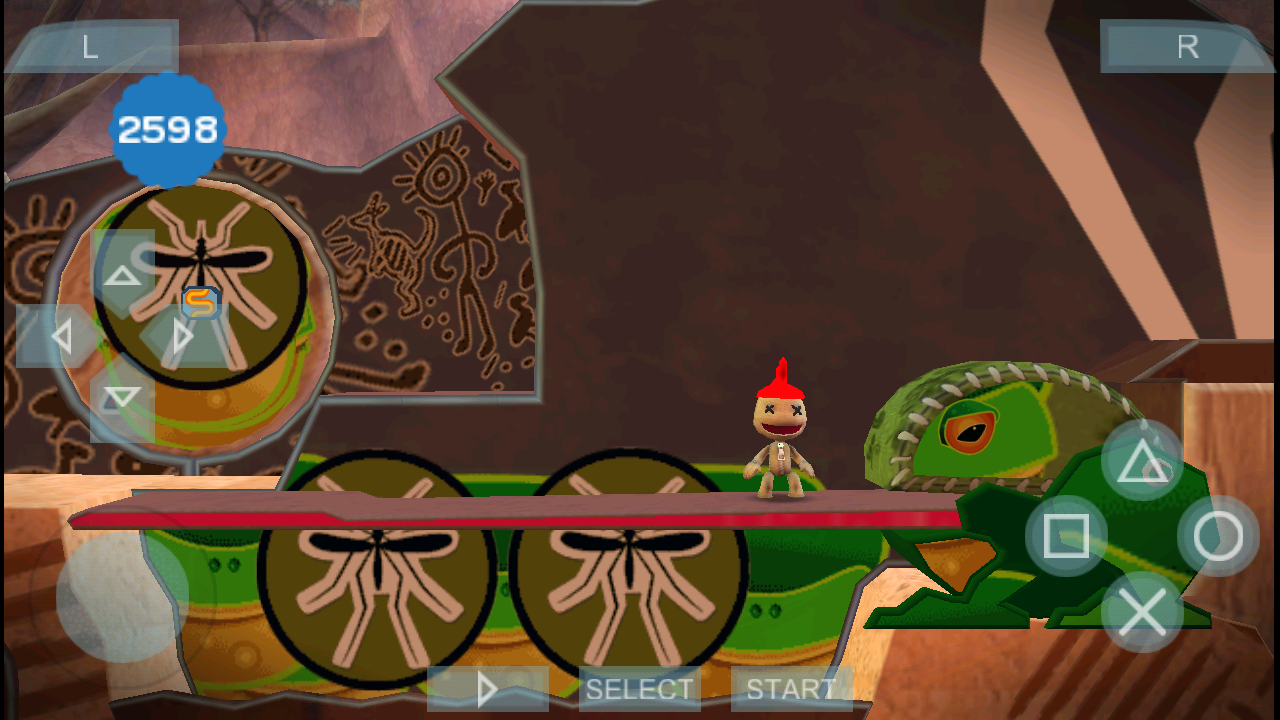
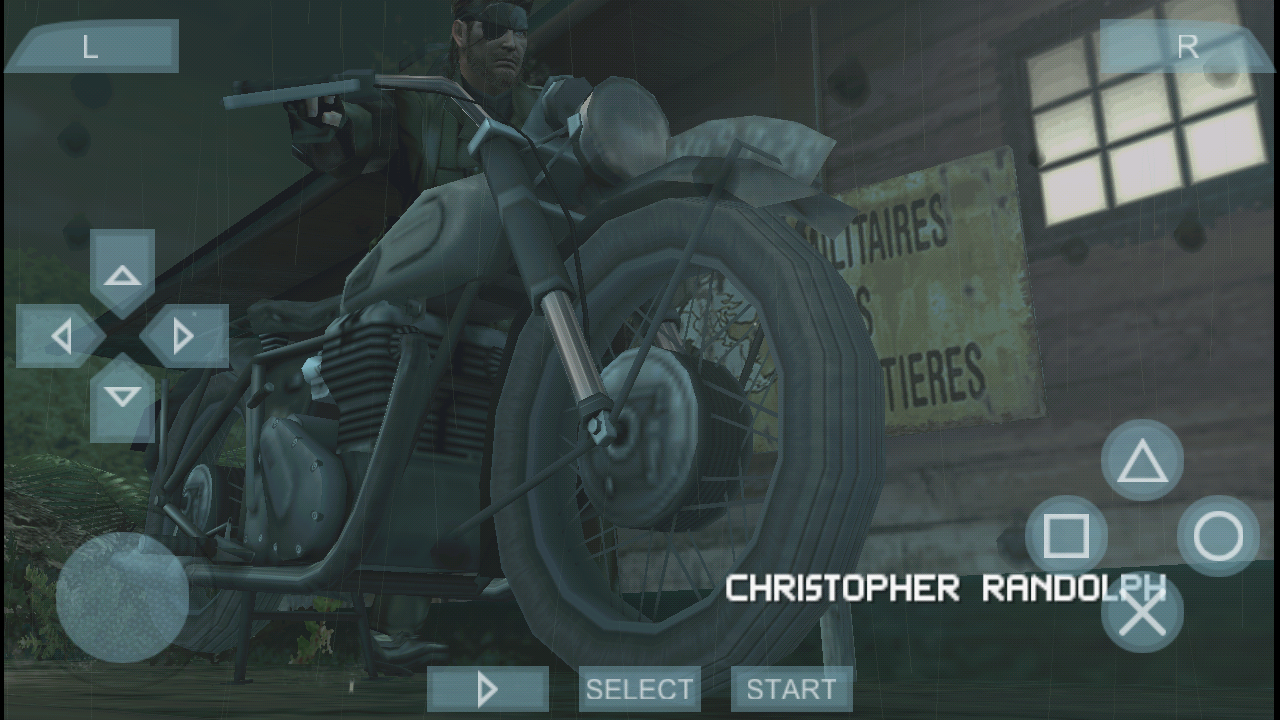
Best PSP Emulator: PPSSPP
Price: Free / Donation
Link: https://play.google.com/store/apps/details?id=org.ppsspp.ppsspp&hl=tr
Best Configration:
http://www.youtube.com/watch?v=UcTsrh5AvbY
Best Games;
Tekken: Dark Resurrection (Works Great)
LittleBigPlanet (Works Great)
Crisis Core: Final Fantasy VII
Metal Gear Solid: Peace Walker (Works Great)
God of War: Ghost of Sparta
God of War: Chains of Olympus
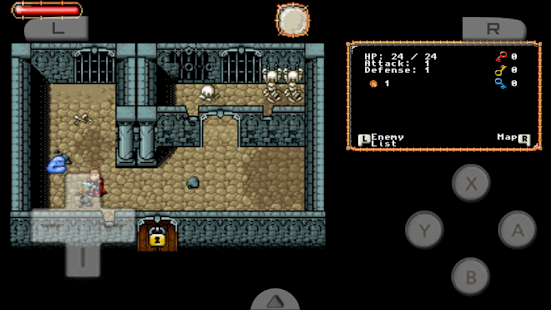
II – Nintendo DS
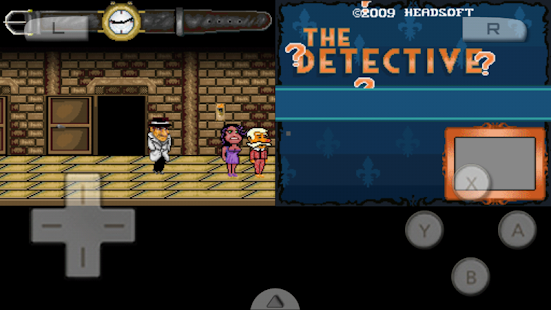
Best Nintendo DS Emulator: Drastic
App info:
DraStic is a fast Nintendo DS emulator for Android. In addition to being able to play Nintendo DS games full speed on many Android devices it has the following features:
- Customize the placement and size of the DS screens, for portrait and landscape modes
- Fully supports add-on controllers, and physical controls in devices like nVidia Shield and Xperia Play
- Save and resume your progress anywhere with save states
- Tweak your gaming experience with a database of thousands of cheat codes
- Synchronize your save games with your online Google Drive space
- Increase emulation speed with fast-forward
NOTE: Android devices using Tegra 2 are not supported by this emulator. We’ve attempted to blacklist these devices, but if you still have one that is not blacklisted do not purchase this emulator.
REFUNDS: If you are unhappy with the software we offer refunds within 48 hours. Please e-mail us at drastic.ds@gmail.comwith “REFUND” in the e-mail title and your order number in the message. Please include a reason so we know why you wanted the refund.
DraStic is only intended for play of private backups of legally acquired Nintendo DS games. This product is not affiliated with or endorsed by Nintendo in any way.
http://apkios.net/2013/08/drastic-ds-emulator-r2-1-2a.html
Game Advice:
New Super Mario Bros
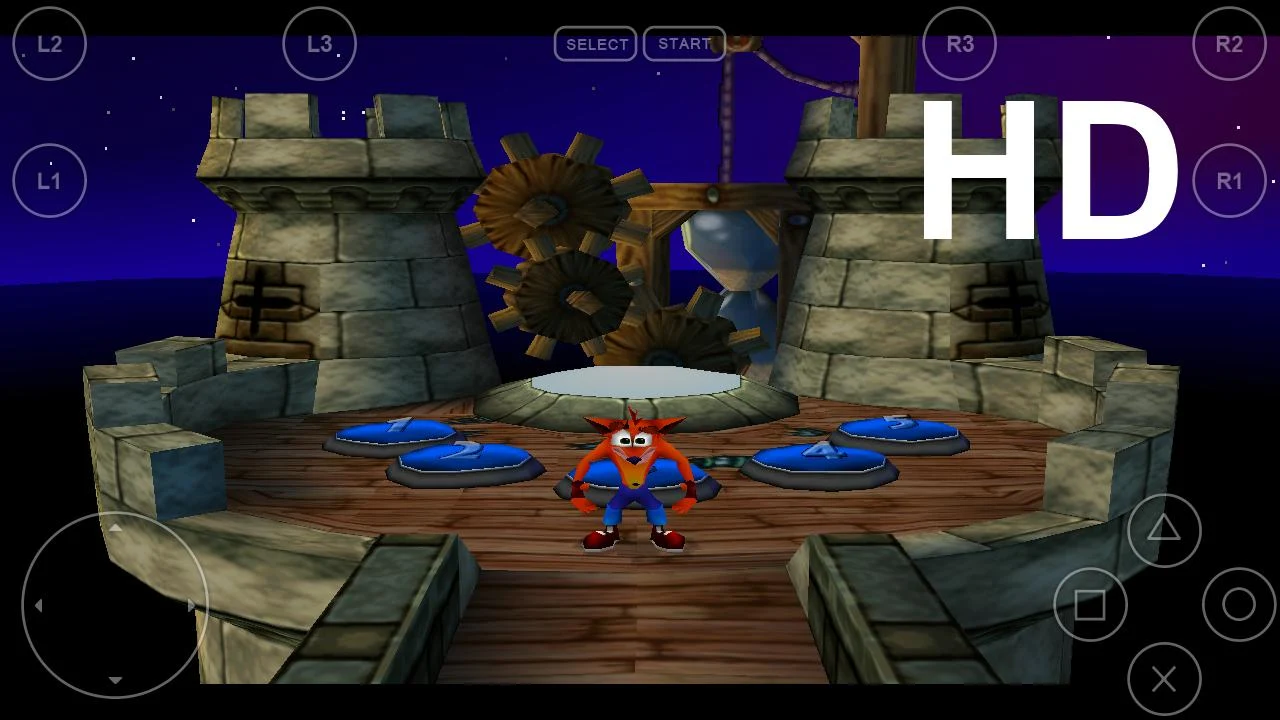
III – Playstation
Best Playstation I Emulator: FPse
FPse for Android is the fastest and most compatible PSone emulator for handheld devices.(also known as PSX or Playstation 1)
More than 200.000 active users and rated up to 4,5 stars on google play!
FPse is able to render PSone games in high resolution by using OpenGL which gives outstanding graphics!
Take a look to the Official Documentation to understand requirements and how it works:
http://www.fpsece.net/faq.html
Create an ISO image from your favorite games and enjoy playing them on your Android phone.
FPse features the following:
-Impressive UI which scan and draw covers games automatically!
-High performance
-High compatibility
-High sound quality
-Real-time save states
-Audio track emulation (using .cue files)
-Force-feedback
-Dynamically loadable Overlay Pads
-Guncon emulation
-Analog Stick emulation
-Compatible with G-Sensor, Touchscreen and Hardware keys
-Supports .img, .iso, .bin, .cue, .nrg , .mdf and .Z disc image formats
-Full Support for IcontrolPAD, BGP100,Zeemote (via Bluez IME)
- Full native support for Xbox 360 pads, PS3 Sixasis pads and MOGA controllers!!
-OpenGL support via external plugin!
-Experimental LAN multi Players mode using two Android devices! Play with two players mode with games that wasn’t made for that! IE: Tekken3!
-Exclusive automatic cheats search engine.
And much more impressive features!
From the new UI you can load and share covers and even compress games…
Searching for tutorial? take a look here:
http://www.youtube.com/playlist?list=PLOYgJXtdk3G9PMkJYnm2ybONIi5-i_Iu5
Best Games:
Final Fantasy 7
Tekken 3
Crash Series
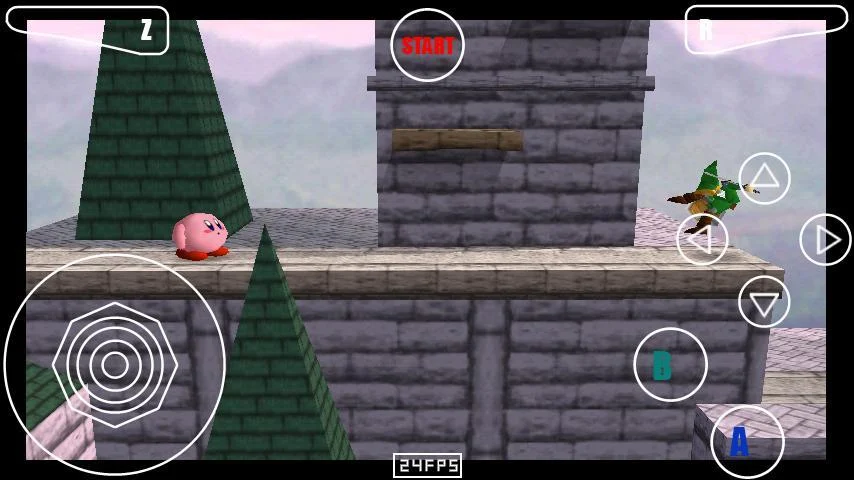
IV – Nintendo 64
Best N64 Emulator: Mupen64Plus AE (0,99$) or Super N64
https://play.google.com/store/apps/details?id=com.supern64.n64.emulator
https://play.google.com/store/apps/details?id=paulscode.android.mupen64plus&hl=tr
Info:
If there’s one console that gamers get misty-eyed about whenever you mention it (besides the Dreamcast, of course), it’s Nintendo’s trailblazing N64.
It may not have had the biggest library of titles and it may have been hampered by a thumb-breaking joypad that future societies might presume was some sort of ’90s torture device, but one mention ofGoldenEye’s multiplayer or Hyrule Fields in Ocarina of Timeis enough to silence any criticism heading the N64′s way.
Previously, we’ve pegged N64oid as the primo ‘droid emulator for the Nintendo 64 console, yet its removal from Google Play means development on N64oid stopped last April.
So, for this step-by-step guide to running N64 games on your Android blower, we’ve used Paul Lamb’s completely free (unless you want to make a donation) Mupen64Plus AE emulator.
It’s still on Google Play, it’s based on the popular Mupen64 PC emulator, and – because it’s in beta testing – it’s regularly updated with tweaks and fixes.
Let’s get started, then…
Note: Pocket Gamer does not condone piracy, and offers this information for entertainment purposes only. Pocket Gamer also takes no responsibility if you follow this guide and manage to bugger up your phone in the process.
|
|
|

First things first, you need to make sure you’ve got a reasonably high-end Android phone to hand to get the most out of this emulator. For this particular guide, we are using our unrooted Nexus 7. We’ve encountered no problems apart from the occasional frame rate chug. Time to head over to Google Play and download Mupen64Plus AE onto your handset. Although you’ve now got the means to play your favourite N64 games in the palm of your hand, chances are you haven’t actually got any games to play. Ergo, you need to find ROMs for those you want to play, and, while we can’t tell you exactly how to find them (due to the unmistakable scent of a lawsuit hovering over us), a quick Google search should see you right. Remember to get them in .n64, .v64, .z64, or zip file formats. In case you’ve temporarily forgotten what games you should hunt down, make a beeline for Super Mario 64, Mario Kart 64, Legend of Zelda: Ocarina of Time, GoldenEye, and Blast Corps straight off the bat. |
|
|
|
|

Once you’re well stocked with N64 ROMs, you need to get them onto your device. Simply connect your handset to your computer via a USB cable. Once all the necessary drivers are installed, you can just open up the file directory. Once inside, create a folder called “ROMs” and then copy across the games you want to play into it. Once they’re all in, disconnect the USB cable. |
|
|
|
|

Finally, it’s time to fire up Mupen64Plus AE for the first time. Just tap the icon to get started, and when the main menu appears, select ‘Game’ from the options to identify your ROMs folder and pick a title to play. It’s tempting to start tinkering with the ‘Settings’ straightaway, but we found that trying out a few games to measure performance before tinkering saved us time in the long run. Unless you’re planning to use cheats (you scoundrels), on the next screen tap the ‘Resume’ button. This means you can quit mid-play and your position is auto-saved, ready for you to pick up immediately from where you left off. |
|
|
|
|

Your game should now boot up without any problems and save whenever you leave the app or dip back to the menu. You can tweak many of the emulation settings, such as frame-skipping to speed up performance. Plus, there are lots of tips and tricks on the developer’s website. The defaults worked pretty flawlessly for us, but plugging in a physical pad (an Xbox 360 one, in our case) really brought these classic games back to life in a way touchscreen controls never could |
|
Best Games:
Super Mario 64
Sumer Smash Bros
V – Nintendo Dreamcast
Best Emulator: Dolphine alpha Version, But No Stable Emulator Yet.
THIS APP DOES NOT COME WITH ROMS
- You must have the right to a given ROM before you play it!
It has come to my attention that Wii games crash the emulator immediately. Looking in to it…
Tegra 3 devices crash right away. I don’t know why yet
Usage guide
http://forums.dolphin-emu.org/Thread-android-usage-guide
OpenGL ES 3 guide
http://forums.dolphin-emu.org/Thread-opengl-es-3-guide
Visit the official Dolphin emulator website at http://dolphin-emu.org/ and receive support in our forums!
This is the first OpenGL ES 3 application on the Android Market! The amount of devices that support OpenGL ES 3 is minimal at best. Hardware support will increase in the future as more phones come to market!
This is a public preview release of Dolphin the Gamecube and Wii emulator for Android.
If you’re expecting reasonable speeds out of this, you are sorely mistaken. This will run slow on every single Android device, no matter if it is the most powerful one in the world.
Some caveats
- It will crash. Alot.
- It might need to be force closed and ran multiple times to work.
- It will run slow
This app is licensed by the GNU GPL v2, and the full source code is available through the public GIT repository at https://code.google.com/p/dolphin-emu/
VI – Windows 95/98 Emulator (For Old Windows Games)
Best Emulator: Winulator
Winulator lets you run some old Windows programs and games on your Android devices. The aim is late 90′s old DirectX-based games. Support for popular titles is added gradually by the developer after testing. See website for more details about supported programs.
You can configure widgets for control – these widgets map to virtual keyboard keys, right click, zoom, etc.
Mostly suitable for tablets, but runs on small devices as well.
How To Play Starcraft;
The concept of emulation, particularly for game consoles is not exactly a new one on Android. We’ve seen emulators for Super Nintendo, Nintendo 64, Play Station, Game Boy Advance and many more gaming systems since the advent of smartphones running this open-source OS. Now, the PC has been added to the list as well, and while it may not be a console, PC games have their own charm at times. Smartphones have become powerful enough to emulate many old classics, and Winulator proves just that point. To show things off, the Windows 95/98 app emulator supports the famous classicStarcraft: Brood War from Blizzard Entertainment. Not only that; Impression Games’ Caesar III has also made the cut. So if you’re a fan of the classic RTS genre, we’re sure you must be excited, so read on after the break for more on Winulator and how you can use it to start playing these games on your Android device.

For now, Winulator supports Starcraft: Brood War and Caesar III, but all that is required for running a Windows game on Winulator is just a custom profile file, so keep your fingers crossed for some third party developments pretty soon that could bring a lot more games to it.

For obvious reasons, it would be best to use this emulator on a Tablet instead of a phone, as a bigger screen would obviously offer a better experience and less strain on your eyes. As for me, I tested this on a Galaxy S II I9100 so leaving the functionality and purpose aside, I may be seeing double.

You can see that the game functions exactly like it would on the PC, complete with accessible menus for saving and loading games, adjusting display resolutions and anything else you may typically find in an old PC game.

The on-screen widgets are quite useful for emulating several PC functions like keyboard hotkeys, mouse right-clicks etc. What’s more interesting is the ability of the emulator to allow a user total control over the placement of not just the on-screen widgets, but the display box as well. You can move the display box around by dragging it, and whatever space is left can be used to add widgets to it. You can access all this by hitting the ‘Back’ button on your device and taping ‘Control Widgets’.

To add a widget, simply tap the empty space around the display box and choose from various options, such as a configurable keyboard hot key, zoom, panning etc. These functions really add to the appeal as well as functionality of this project, and can prove to be quite useful for playing not just the games currently available for the emulator, but also for other games that may be tweaked for it in the future.
Winulator is available as a free version bearing the beta watermark, as well as a paid version at a hefty $7.82 price tag, which bears no watermark. You can download it using the links provided at the end of this post.
How To Run Starcraft: Brood War & Caesar III On Winulator
Requirements
- You need the game you want to run installed on your PC, and it has to be a version that does not require a disc inserted into the CD ROM to run.
- Starcraft: Brood War Winulator Profile if you want to run Startcart: Brood War.
- Caesar III Winulator Profile if you want to run Caesar III.
Instructions
- Assuming that it’s Starcraft: Brood War that we’re trying to run, and it is installed in ‘C:\Program Files\Starcraft Brood War’, copy the ‘Starcraft Brood War’ folder to the root of your device’s SD card (i.e. don’t put it in any sub-folder there).
- Download the ‘Starcraft: Brood War Winulator Profile’ and copy it to the ‘Starcraft Brood War’ folder you just copied to the device.
- Run Winulator, hit the ‘Settings’ icon and either do a scan of the SD card, or enter the path manually.
- Once Winulator detects a game, you will see it on the main menu.
To run Caesar III, repeat the same steps as above using Caesar III’s appropriate directory from your PC and Winulator profile. The rest is pretty self-explanator,y really.


Pros
- A unique concept to keep PC classics alive
- Easy and simple UI
- Near-perfectly emulates the games (However this can vary from game-to-game and device-to-device)
Cons
- Not well-suited for smaller screens.
- Shortage of games and possibly slow future progress.
For more information and updates, head over to winulator.com.
Download Winulator-beta (Free)
Download Winulator (Paid)
VII – Where To Find Emular BIOS Files?
Download Every BIOS Software Form Android Market;
https://play.google.com/store/apps/details?id=com.rotaryheart.bios.download&hl=tr
EveryBIOS is now free! Download it and you get full version!!
Do you need some BIOS for development? Or for emulators? You don’t know where or how to download them?
Well this APP is for you!! It have zipped and unzipped files!!!
This app include BIOS for:
3DO
AMIGA
Atari
BSX
CD-I
ColecoVision
Dreamcast
Gamars
GBA
GBC
Mac Quadra
MAME
MESS
NeoGeo
Nes to Snes adapter
NDS
And more!!!! Just with one click you will be downloading the BIOS!
VIII – Where To Find Game Roms?
My Advice: Use uTorrent + www.isohunt.com
Installing and Setting Up the uTorrent Client
-
1
Download µTorrent at here. If you are using GNU/linux, Try Transmission or Ktorrent. uTorrent is what’s called a BitTorrent client. Your client is a piece of software that communicates with lots of other computers via a server on the internet. In order to download torrent files, you’ll need a BitTorrent client.

- uTorrent is only one of dozens of BitTorrent clients. They can be used in more or less the same way, with subtle differences. Some other popular clients include:

- BitLord

- Vuze (Azureus)

- ZipTorrent

- Tomato Torrent

- Frostwire

- uTorrent is only one of dozens of BitTorrent clients. They can be used in more or less the same way, with subtle differences. Some other popular clients include:
-
2
Open your newly-downloaded client and perform a speed test. Go to Options →Speed Guide → Perform Speed Test. Note what your connection speed ends up as.

-
3
In the Speed Guide, select the speed that best corresponds to the number you retrieved in your speed test. If your computer is running on a slower connection, such as a 56k dial-up, expect your download speeds to be significantly slower.

-
4
Choose a port number somewhere in the acceptable range. The acceptable port range is between 49512 and 65535. Type in an arbitrary number somewhere in between the two and test your port number.

-
5
Enable encryption. Encryption is the process by which your client disguises your connection speed in order to keep ISPs from throttling it. If an ISP recognizes a client downloading a bunch of data, it may choose to throttle it in order to keep it from monopolizing the connection. If you want to download files faster, enable encryption by clicking on the appropriate box and then selecting “Use Selected Settings.”

-
6
Navigate to Preferences and select where you want your downloaded files to end up. Go to Options → Preferences → Downloads and browse the folder location you want completed files to end up in.

-
7
Speed up µTorrent by setting up port-forwarding. You can enable uPnP (Universal Plug-n-Play) on uTorrent and your router and that will automatically port-forward the ports for you when you start uTorrent.


Downloading Torrent Files
-
1
Go to a torrent search site. There are many torrent sites. (Remember, these are different from the BitTorrent client websites.) The five most popular torrent sites, as of 2013, include:[1]

- ISOhunt

- ThePirateBay

- Torrentz

- ExtraTorrent

- TorrentReactor

- ISOhunt
-
2
Type the name of the files you want to download in the search box.

- If you press search, another page opens. The first torrent site that opens is mininova. The black bar on top of the page gives you links to other torrent searching engines if you can’t find the file you are looking for at mininova.
-
3
Take a look at seeders and leechers. On the right of the page you can see the seeders and leechers. Seeders are people who have completely downloaded the file and are sharing it with others. Leechers are people who are currently downloading the file and thus share only a fraction of the file. Always select the torrent with the most Leechers and seeders.

-
4
Always check the comments on the torrent. Some torrents may contain viruses or corrupt files. If the file seems to check out, you can go ahead without worrying about viruses or other compromising factors.

-
5
Find the download button somewhere on the torrent page. If you click on the torrent you want to download a window like this appears.

-
6
Know that µTorrent will now display a box allowing you to choose which files to download. In this box, the files of the torrent you selected are displayed. You can select or deselect the files you wish to download and click OK.

-
7
Wait for the file to start downloading.


